Getting Started with Unraid and Twingate
Secure access to your Unraid environment from anywhere in the world.
Overview
This guide explains how to set up Twingate to securely access your Unraid environment using the Unraid Community App plugin. By integrating Twingate with Unraid, you can ensure that your private resources remain protected while enabling seamless remote access.
Prerequisites
Before you begin, ensure you have the following:
- A running instance of Unraid.
- The Community Applications plugin installed.
- A Twingate account with access to the Admin Console.
- Basic familiarity with Unraid’s configuration options.
- Web UI access to your Unraid server.
Installation Steps
1. Generate Connector Access and Refresh Tokens
Start by generating new Access and Refresh tokens for a Connector. Follow these steps:
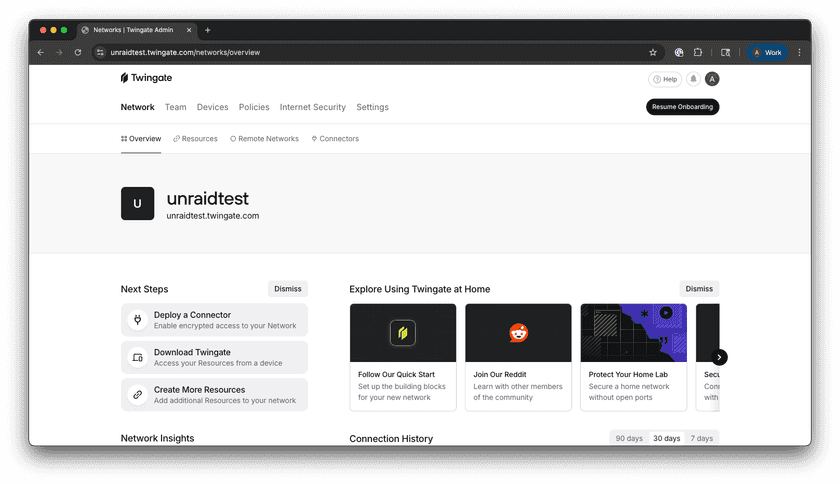
- Log in to the Twingate Admin Console.
Twingate Admin Console - Navigate to Remote Networks.
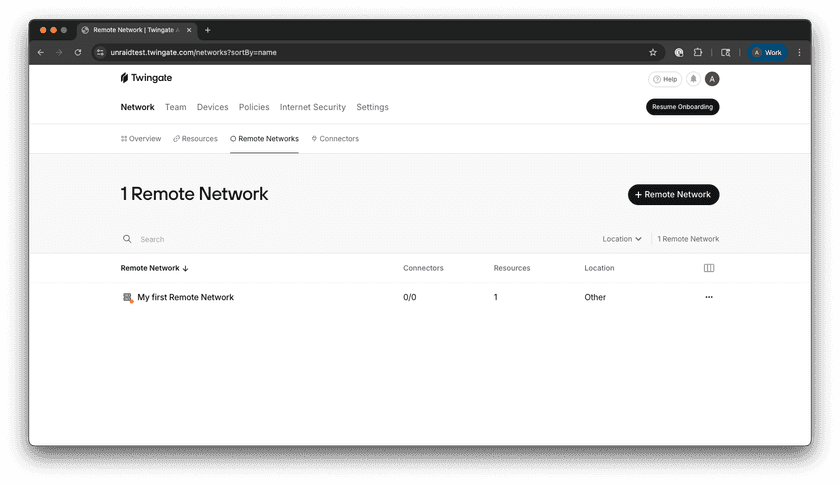
Remote Networks Screen - Select the Remote Network you want to add a Connector to.
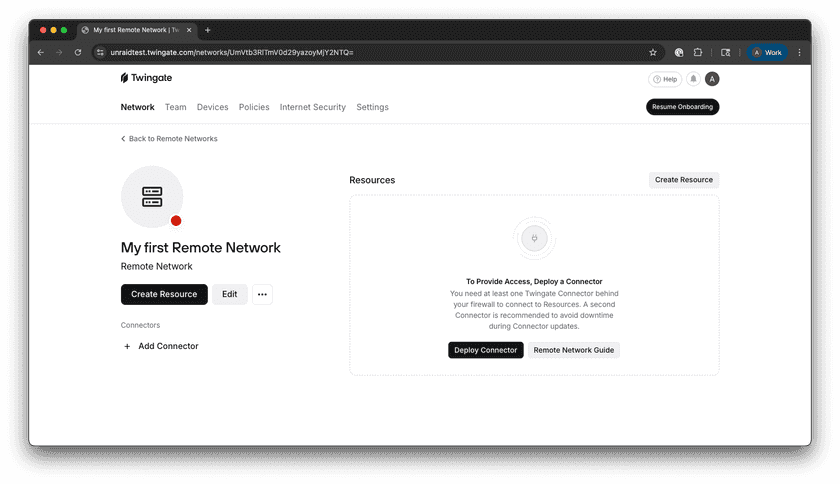
Selected Network Screen - Add a Connector or select one that hasn’t been deployed yet.
- Select the Manual option.
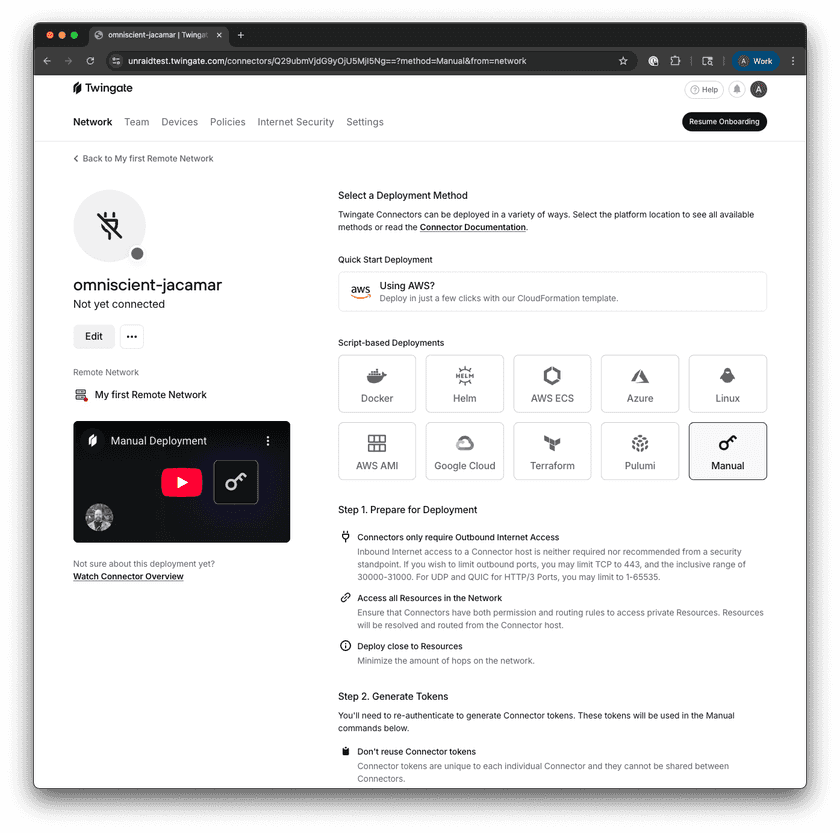
Selected Connector - Scroll down to Step 2 and click Generate Tokens.
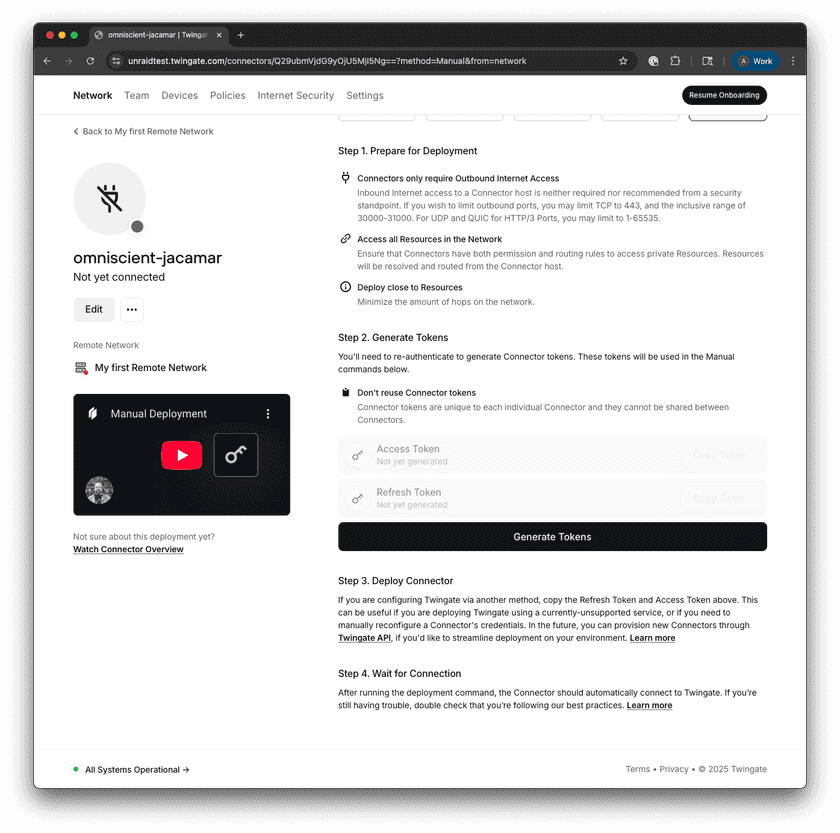
Step 2 of Connector Setup - Authenticate when prompted to complete token generation.
- Copy the Access Token and Refresh Token displayed. These will be used in the next step.


Important
Make sure you do not reuse token sets. It is important that each Connector has its own unique token set.
2. Deploy the Connector using the Community App
- Navigate to the Apps tab in the Unraid web UI. This is usually at
http://<your-unraid-ip>/Apps.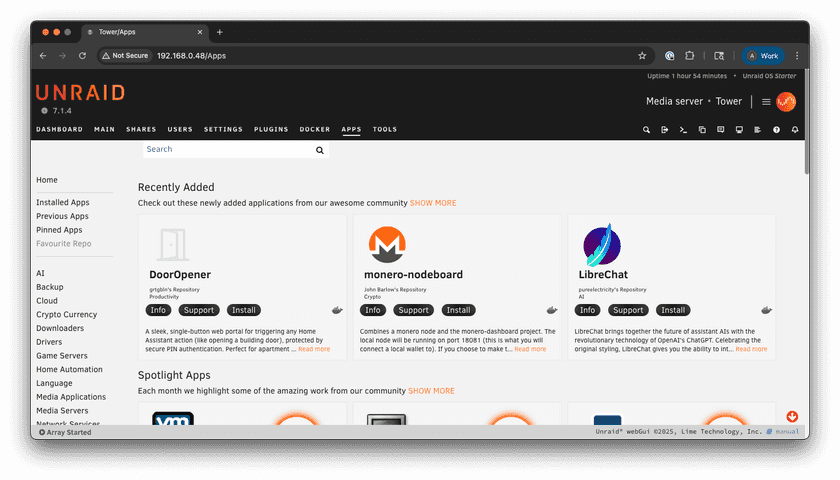
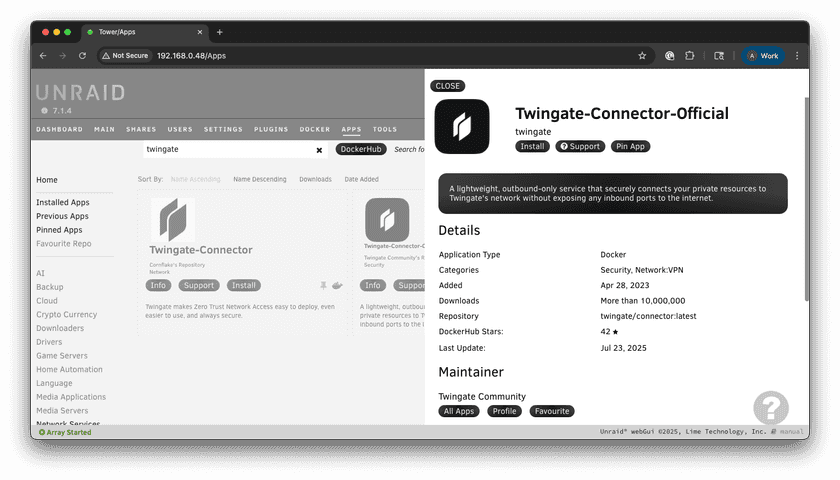
Community Apps - Search for the Twingate Connector in the Community Apps store. Make sure to select the official entry.
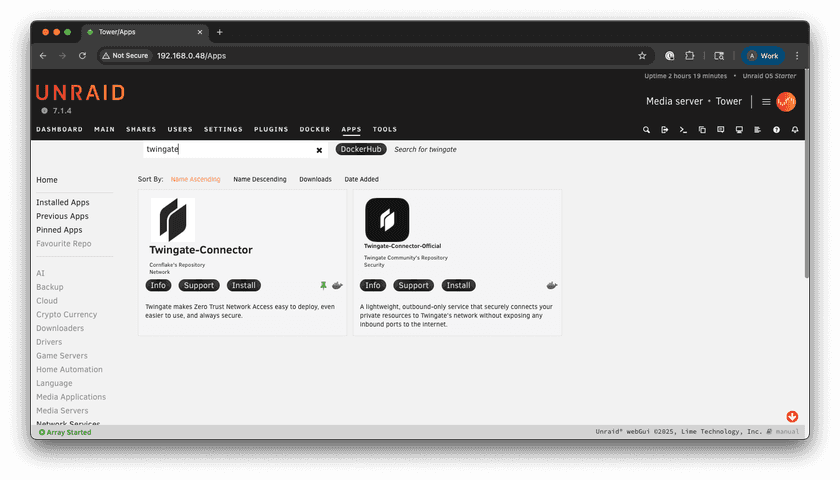
Twingate Search - Click Install.
Twingate App - Fill out the form that is displayed with the following information:
- Network: Your Twingate Remote Network name (e.g., network.twingate.com).
- Access Token: Paste the Access Token generated in the Admin Console.
- Refresh Token: Paste the Refresh Token generated in the Admin Console.
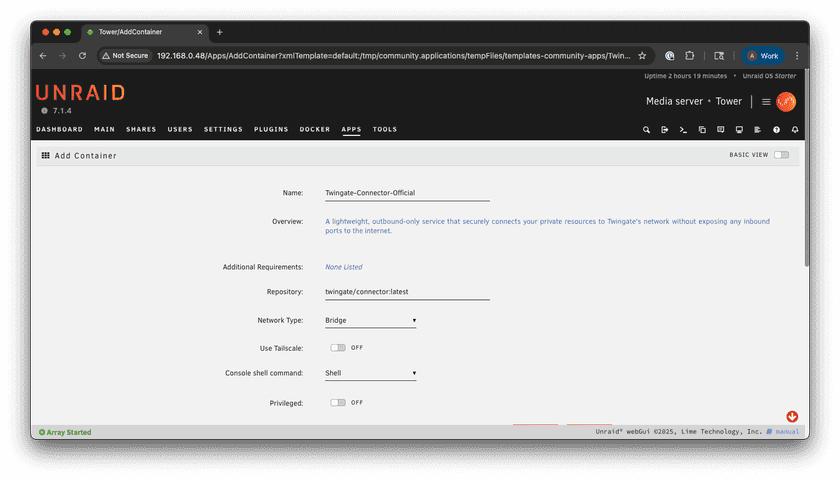
Configuration Form 1 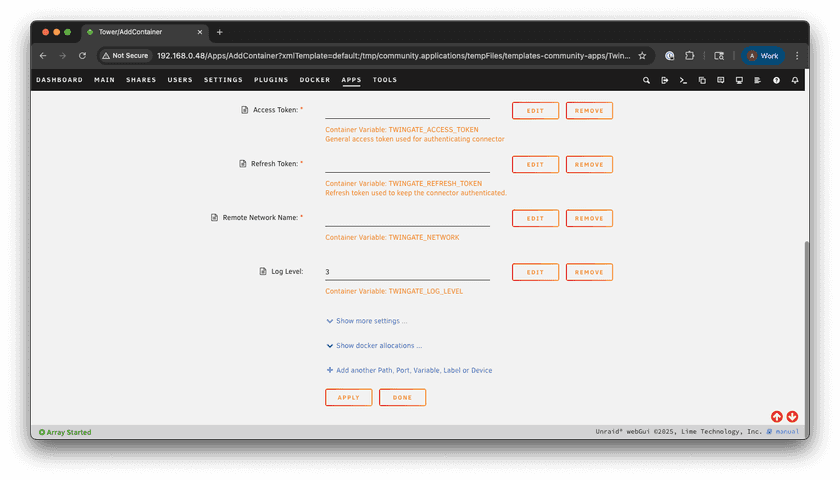
Configuration Form 2
- Click Apply to save the configuration.


3. Verify Installation
- Navigate back to the Admin Console.
- Navigate to Remote Networks.
- Select the Remote Network you added your new Connector to.
- Select the new Connector.
- Verify that the Controller and Relay statuses are
connected.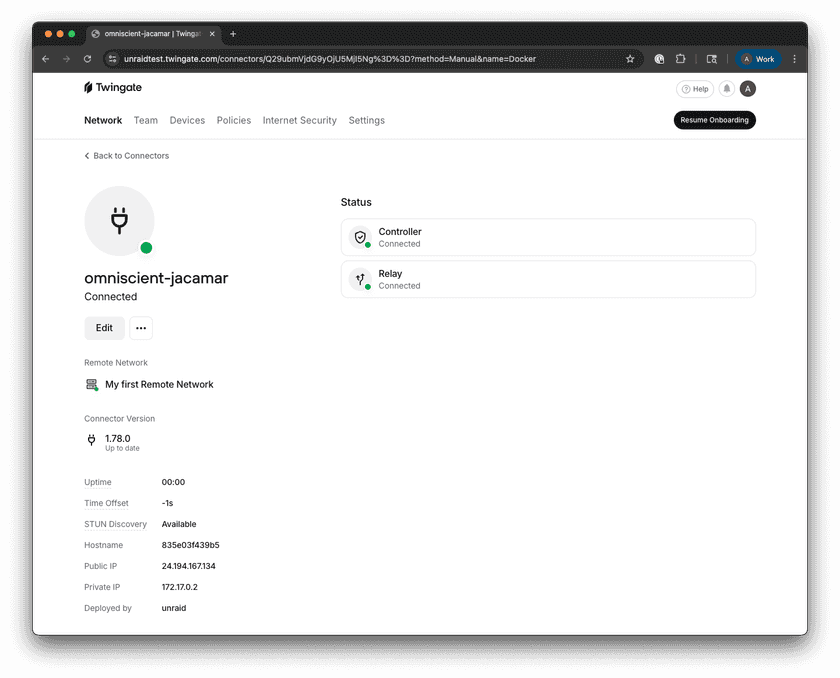
Fully Setup Connector

Troubleshooting
Common Issues
- Token Errors: Ensure the Access and Refresh tokens are correctly entered.
- Connectivity Problems: Verify that you can access the Unraid web interface locally and the Twingate Community App is running.
If issues persist, take a look at the troubleshooting docs.
Next Steps
Once Twingate is configured, you can explore additional resources to enhance your setup:
- Home Assistant Setup Guide: Learn how to integrate Twingate with Home Assistant.
- Proxmox Helper Script Guide: Learn how to integrate Twingate with Proxmox using the open source Helper Script Repository.
- Setting Up Resources: Learn how to configure Twingate Resources to gain access to private applications and services.
Feedback
If you run into any issues or have a suggestion, feel free to open an issue on the support page or reach out on our subreddit.
Last updated 30 days ago