How to Deploy a Connector on Linux
Overview
Twingate Connectors can either be run in a Docker container or as a systemd service on the host.
- Docker containers are the most flexible in terms of support for any Linux distribution but involve some additional management overhead.
- Our
systemd-compatible service is supported on several Linux distributions. Running as a native system service is the most robust option with lower management overhead.
Please see our Connector Best Practices overview for general recommendations as well as hardware recommendations.
Peer-to-peer connections help you to provide a better experience for your users and to stay within the Fair Use Policy for bandwidth consumption. Learn how to support peer-to-peer connections.
Docker Container Deployment
If you are running a Connector on a Linux host or VM, there are just two steps to follow to deploy a container-based Twingate Connector:
-
Ensure that Docker is installed and running. Detailed steps for Ubuntu, Debian, Fedora, and CentOS are available from Docker, or you can use the following convenience script, which works on any Linux platform:
curl -fsSL https://get.docker.com -o get-docker.shsudo sh get-docker.sh# Verify Docker is installed and runningsudo docker run hello-world -
Log in to your Twingate Admin Console, click on Remote Networks then on the Remote Network on which you want to deploy a Connector. From there, scroll down and click on the Add Connector button on the left-hand side of the screen
-
Click on the new Connector that was created. On the deployment page click the Docker option at the top of the screen
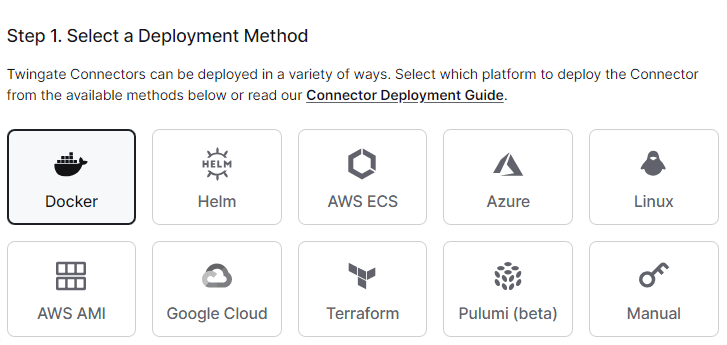
Choosing the Docker Option -
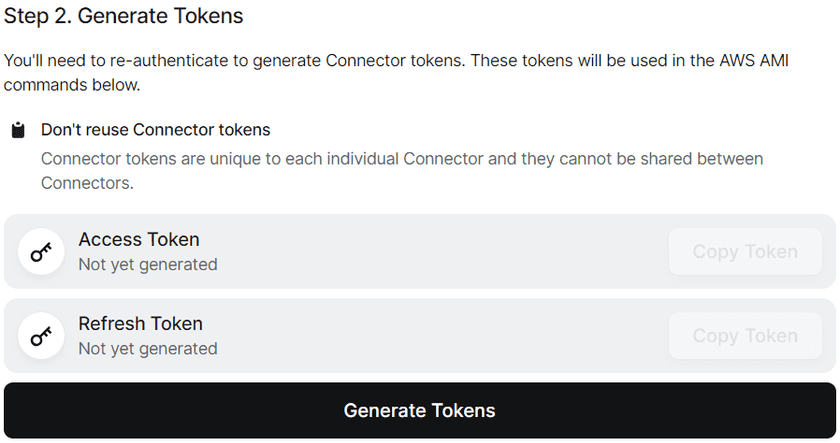
Scroll down to step 2 and click the button to generate tokens. It will have you re-authenticate and then bring you back to this page

Generate Tokens -
Scroll down to step 3 and enable any of the optional features you would like to use
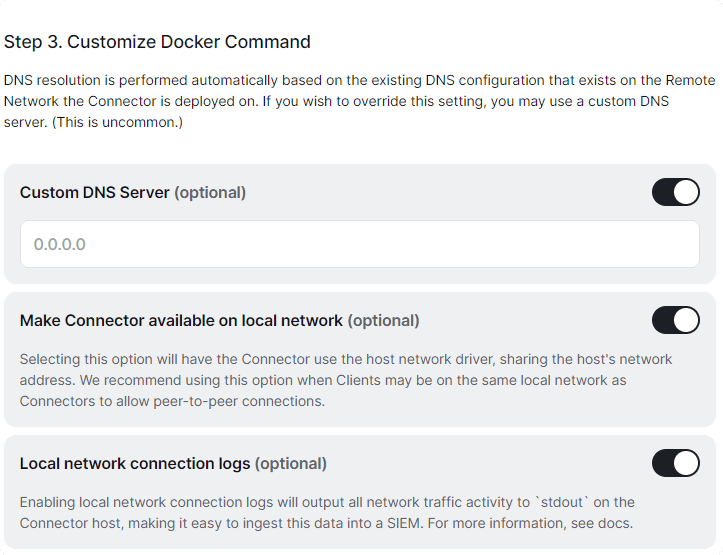
Optional Docker Configuration -
Scroll down to step 4 and copy the completed command and run it in your Linux terminal
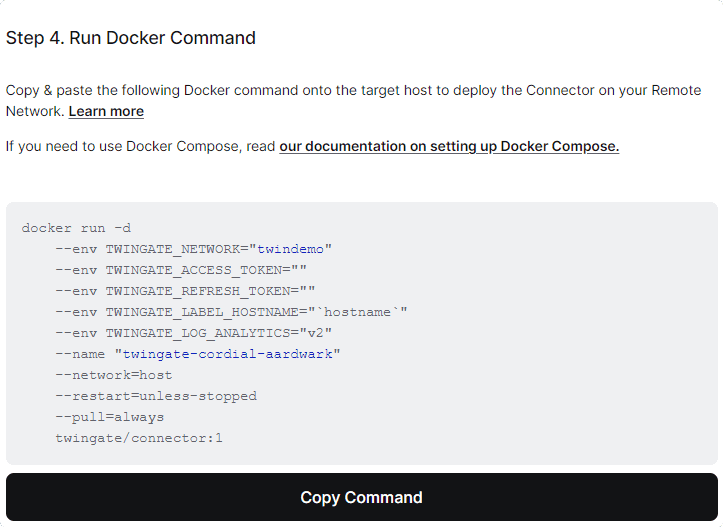
Completed Deploy Command


We only recommend installing Docker via the official distribution channel by following the instructions above. Different channels may have out of date versions of Docker that are not compatible with the Connector image requirements.
For Amazon Linux, we recommend following the Twingate Connector deployment instructions to deploy a pre-built AMI, which has the systemd Connector service pre-installed.
Systemd Service Deployment
Supported distributions
For Linux distributions that we support, we test supported versions until they reach end of life (EOL). Currently, the following distributions are supported:
Ubuntu22.04 LTS (Jammy), 24.04 LTS (Noble)- Only Ubuntu LTS (Long Term Support) versions are officially supported.
- Ubuntu versions are supported until end of standard support.
Fedora39, 40CentOSStream 9Debian11 LTS (Bullseye), 12 LTS (Bookworm)
The Connector service may run on other Linux distributions, but we cannot offer support for additional distributions at this time.
First-time Installation
Installation of the systemd Connector service can be performed in a single command with the necessary environment variables set.
- Log in to your Twingate Admin Console, click on Remote Networks then on the Remote Network on which you want to deploy a Connector. From there, scroll down and click on the Add Connector button on the left-hand side of the screen
- Click on the new Connector that was created. On the deployment page click the Linux option at the top of the screen
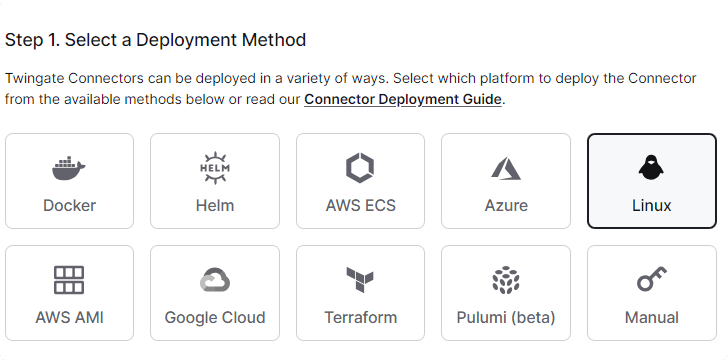
Choosing the Linux Option - Scroll down to step 2 and click the button to generate tokens. It will have you re-authenticate and then bring you back to this page
Generate Tokens - Scroll down to step 3 and enable optional real-time logging

Real-time Logging - Scroll down to step 4 and copy the completed command and run it in your Linux terminal
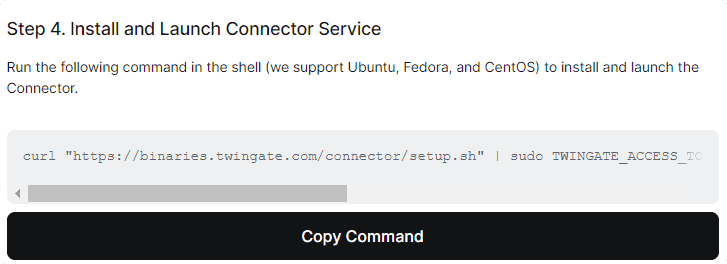
Completed Deploy Command - Verify that the Connector service is running
sudo systemctl status twingate-connector


Connector configuration
You can find the Connector configuration file in /etc/twingate/connector.conf. The three environment variables in
the run command above must be set in the configuration file in order for the Connector service to start and run.
Configuration and management
Connector configuration can be found in /etc/twingate/connector.conf. For the Connector to run, three settings must be present with valid values. For example, if you Twingate account is autoco.twingate.com, your configuration file should look like this:
TWINGATE_NETWORK=https://autoco.twingate.comTWINGATE_ACCESS_TOKEN=a948904f2f0f479b8f8197694b...TWINGATE_REFRESH_TOKEN=b64064fece69a4edc7ff87f86f...Connector token values can be generated in the Twingate Admin console by provisioning or re-provisioning a Connector.
Access and refresh tokens, which are required for Connector deployment, are specific to an individual Connector and cannot be shared between multiple Connectors.
The following standard commands can be run to manage the systemd Connector service.
# Connector statussudo systemctl status twingate-connector
# Stop the Connector servicesudo systemctl stop twingate-connector
# Start the Connector servicesudo systemctl start twingate-connector
# Restart the Connector service (eg. for configuration file reload)sudo systemctl restart twingate-connector
# Start the Connector service automatically at bootsudo systemctl enable twingate-connector
# Stop the Connector service from starting automatically at bootsudo systemctl disable twingate-connector
Updating the Connector
Updating a systemd based Connector can be done manually by using the Linux package manager, or automatically by setting up a scheduled task to check for updates. We recommend staggering updates across multiple Connectors to avoid downtime. For more details check our Systemd Connector Update Guide. If you choose to host your containers in Docker, please check our Docker Connector Update Guide.
Last updated 30 days ago