Quick Start
Configure your Twingate network to protect and access your private Resources.

Prerequisites
- A Twingate account. You can get started with a free account.
- Sufficient permissions to deploy either a Docker container or native Linux service on the Remote Network you’re configuring.
Summary of Steps
- Define a Remote Network
You will create a new Remote Network in Twingate within which you will define Resources that users can be given access to. - Create and provision a new Connector
Twingate Connectors provide encrypted connectivity into a Remote Network, and can be deployed into a wide variety of environments. Start by deploying a Connector into your newly created Remote Network. - Access your protected Resources with the Twingate Client
With your Twingate network configured, the Twingate Client application allows you to connect to Resources you are authorized to access.
Define a new Remote Network
The first step is to define a new Remote Network. You may already have one or more Remote Networks defined from your choices during the signup process. If you already have a Remote Network defined, you can proceed to defining a new Resource, below.
To define a new Remote Network:
- Click on “Network” in the navigation bar, if needed.
- Next to Remote Networks on the righthand side of the screen click “Add”.
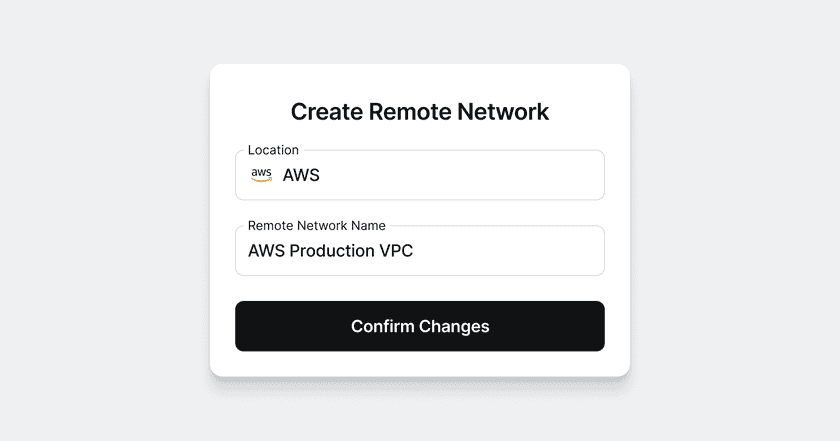
- Select the location of the remote network from the list of options, eg. “AWS”.
- Give the Remote Network a name, eg. “AWS Production VPC”, and then click “Add Remote Network”.
Define a Resource
- Click “Network” in the top-level navigation.
- Click “Add Resource”.
- Enter details for your Resource and click “Add Resource”.
Looking for a full description of allowed addresses for Resources?
See Resource Definition for more information.
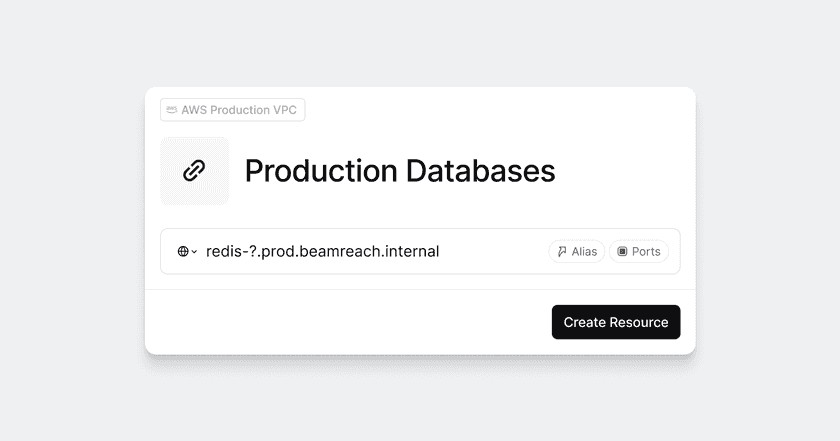
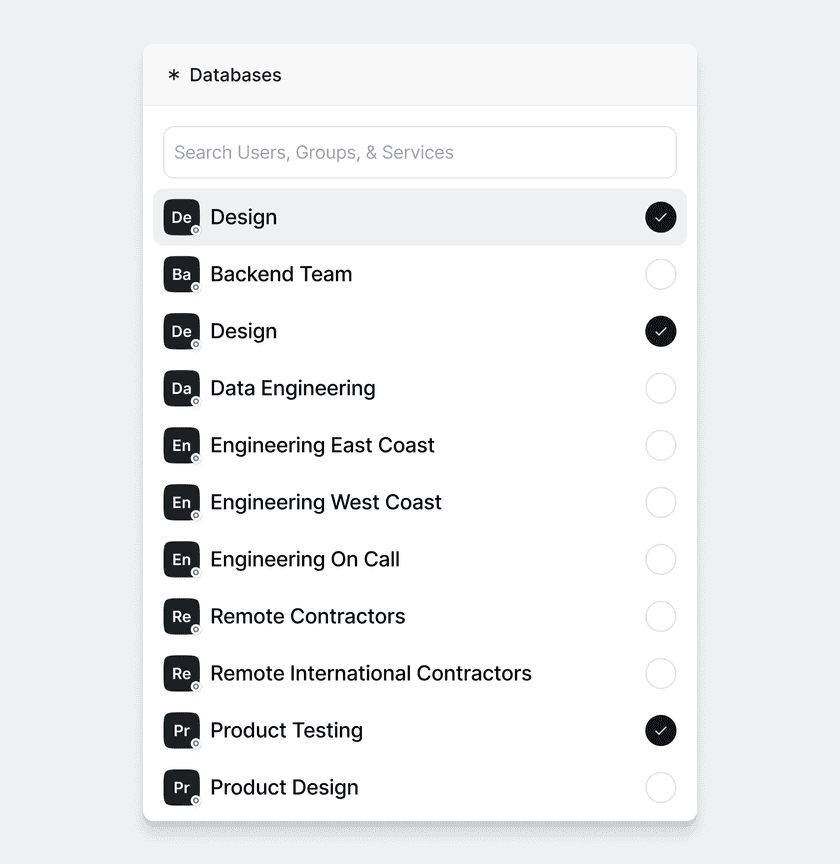
Finally, in the next step, select the Group or Groups that should be authorized to access your new Resource. This will grant any users in the selected Groups access to this Resource. The only available option will be the “Everyone” group unless you have already created your own Groups. Select “Everyone” (or your Group of choice) and click “Add 1 Group” to finalize creating the new Resource.
You must add the Resource to a Group for the Resource to be accessible to users. If you’d like to limit which users can access this Resource, create a custom Group.
Deploy a Connector
Twingate’s Connectors allow you to access private Resources and are deployed behind your firewall.
First, ensure you are within the new Remote Network. Click one of your Connectors or click “Deploy Connector” to start the deployment process.
You will then be presented with a set of options to deploy the Connector depending on your particular environment or preferences. Selecting each option will update the set of deployment steps displayed below.
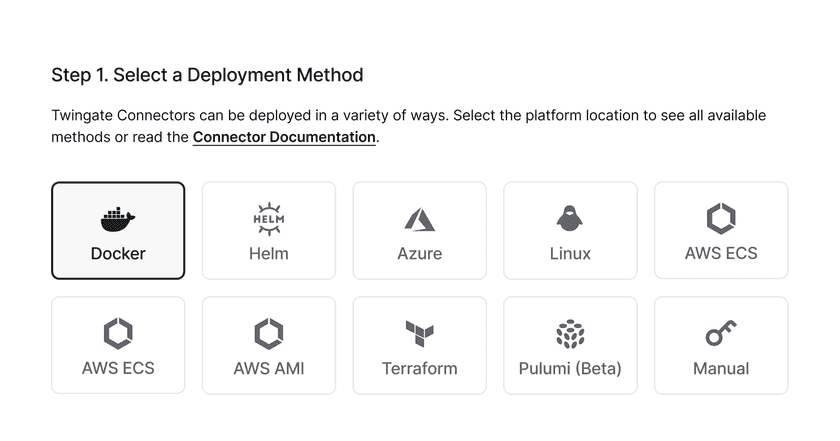
For more information on deploying Connectors, see Deploying Connectors. Whichever option you choose, you must provision the Connector on a host that can reach the Resources you want to provide access to via Twingate.
Peer-to-peer connections help you to provide a better experience for your users and to stay within the Fair Use Policy for bandwidth consumption. Learn how to support peer-to-peer connections.
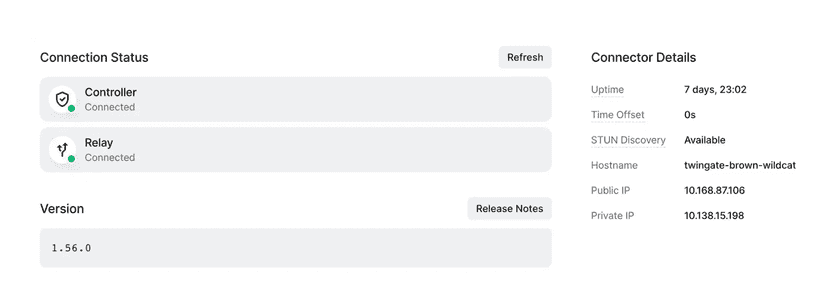
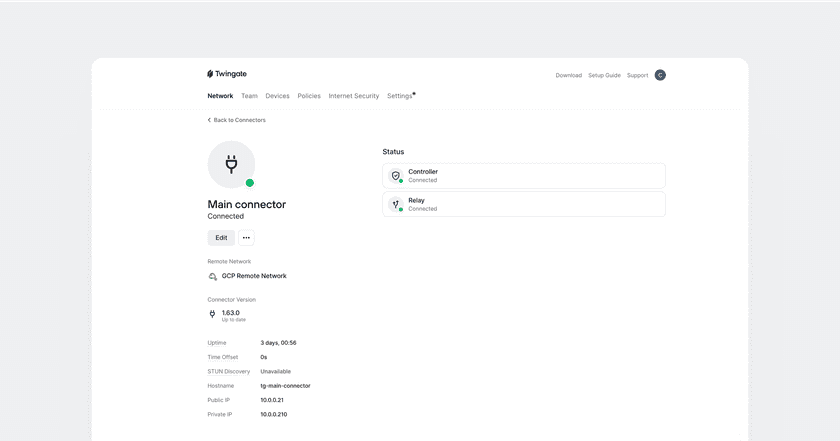
Once you initiate the deployment process on the remote system, the “Connection Status” sidebar will update automatically. Once a successful connection has been made to both the Twingate Controller and Relay, the new Connector is ready to serve requests.
Install the Client
Install the Client
Visit get.twingate.com to install the Twingate Client application on your device.
Once connected and authenticated, you should be able to access the Resource you configured—redis-a.prod.beamreach.int or redis-b.prod.beamreach.int in our example, above—directly from your device, regardless of what network you are connected to.
Next Steps
Congratulations! Now that you’re up and running, you may find the following next steps helpful.
- Manage your team
- Understand our Security Policies in more depth
- Use Services for automated processes such as CI/CD
- Browse more Use Cases
We’d love to hear your feedback on the product and your experience. Our community subreddit is available for help with any questions, or you can look at alternative ways to contact us for feedback or support.
Last updated 1 year ago