SentinelOne Configuration
Business & Enterprise only
Note that our SentinelOne integration is limited to the Business and Enterprise product plans. See our pricing page for more information.
Background
Twingate integrates with SentinelOne so that admins can set it as a requirement to sign in to Twingate or access private Resources. When SentinelOne is selected as a trust method within Device Security, it can be incorporated into Security Policies. Only macOS and Windows devices that are verified through the SentinelOne integration will be considered to satisfy the Trusted Profile and be allowed to access private Resources.
How it works
Twingate integrates with SentinelOne by using the SentinelOne API to pull a list of devices managed under the configured tenant. The Twingate Client returns the device serial number and matches it to the list of serial numbers from SentinelOne. Devices are considered SentinelOne-verified if they meet the following requirements:
- Its serial number is returned by SentinelOne
- Has reported to SentinelOne within the past hour
- Is not infected
- Is not decommissioned
- Does not require a threat reboot
- Has an operational state: “na” (This means that the agent has not been disabled or corrupted)
Generate an API Key
- In your SentinelOne Management Console, open Settings in the left panel
- Click on Users in the top bar
- Go to Service Users
- Under Actions, click Create New Service User
- Give it a name and expiration date
- Choose the site or account you want Twingate to have access to and provide Viewer access or more
- Save the API token. You’ll need it later
Configuring the SentinelOne integration in Twingate
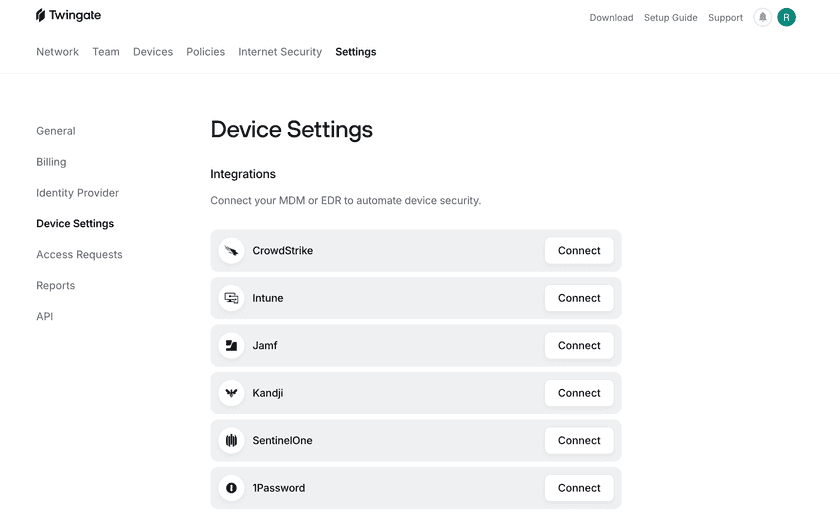
1. In Twingate, navigate to Settings and then select Device Integration

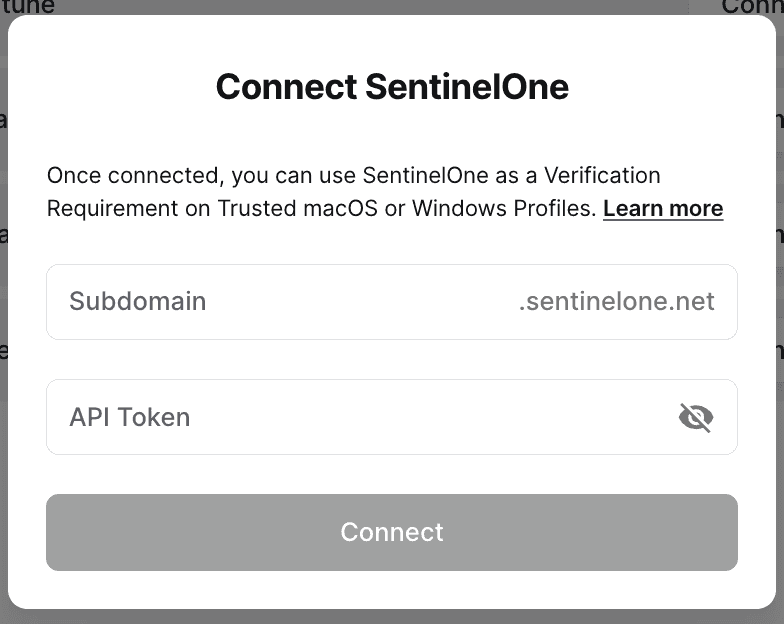
2. Select Connect next to SentinelOne and input your SentinelOne credentials.
Under Management URL, enter your subdomain. For instance, if your current URL is https://abcd.sentinelone.net/web/api, you’ll want to type in abcd.

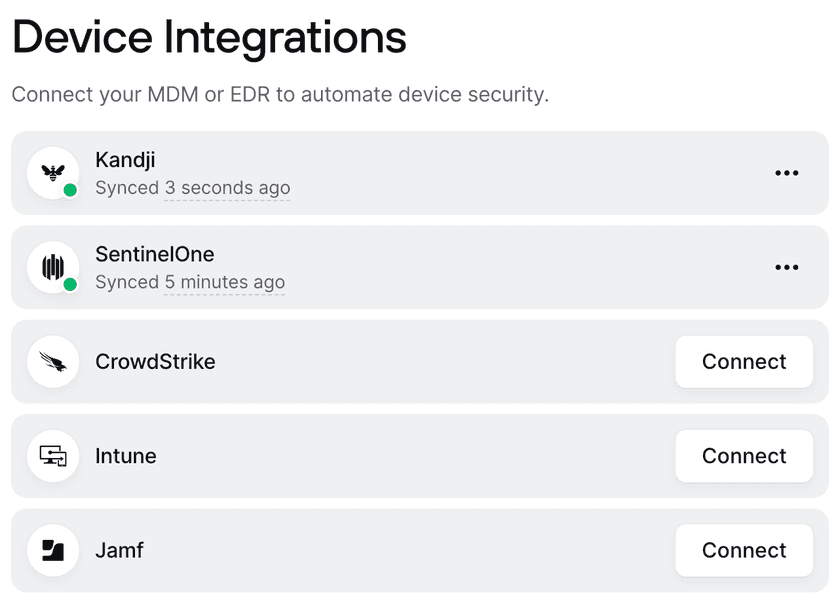
3. After the integration is configured, the Device Settings page will show the current status of the integration

Incorporating SentinelOne into Security Policies
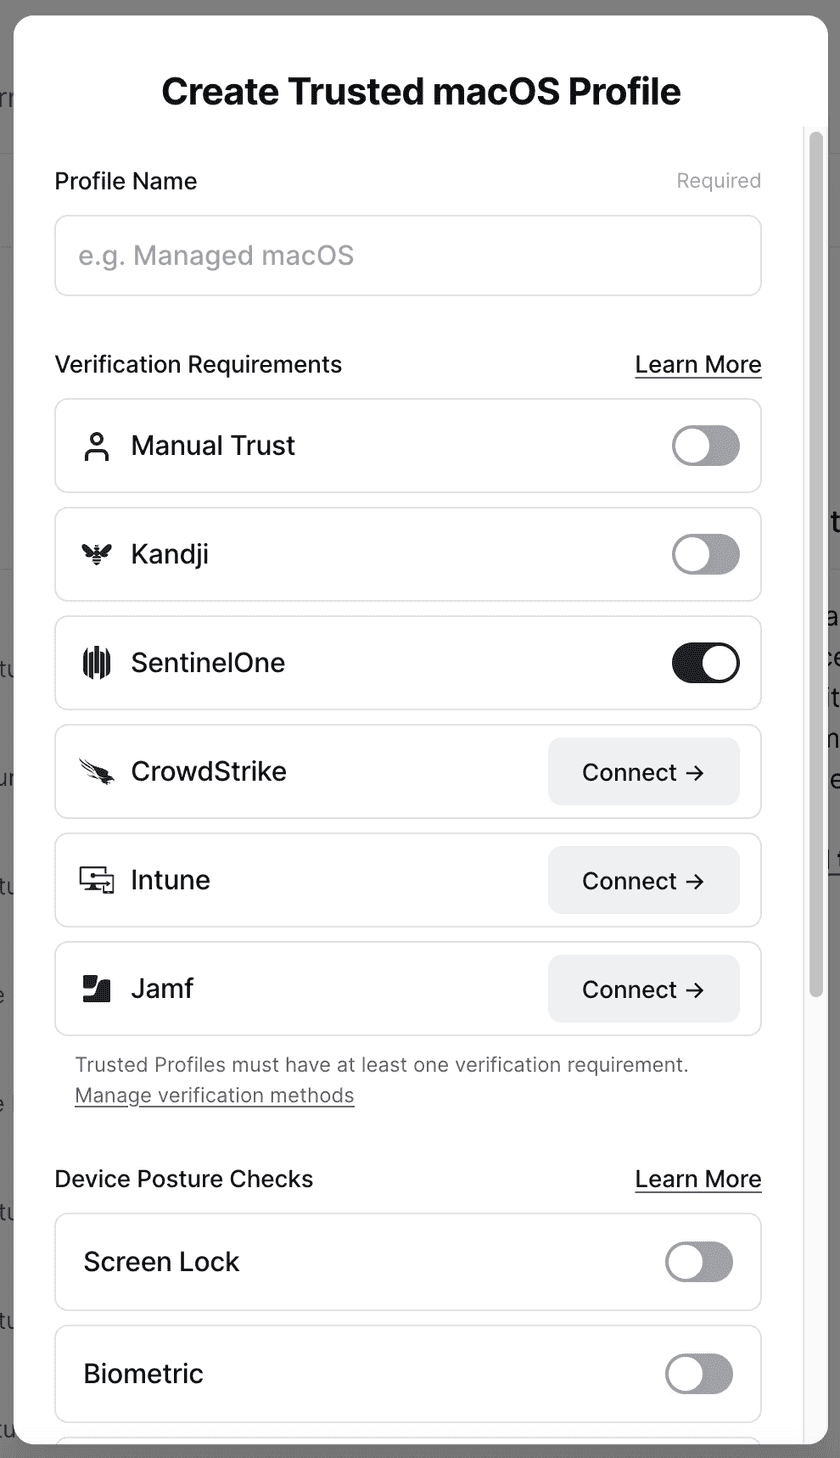
After the SentinelOne integration has been set up, it can be configured into Device Security Trusted Profiles.
For macOS and Windows, create a Trusted Profile and require SentinelOne as a Trust Method. Only devices considered SentinelOne-verified will satisfy the requirements of this Trusted Profile. This Trusted Profile can now be incorporated into Security Policies.

Troubleshooting
After the SentinelOne integration is set up, the Device Settings page will show the status as “Waiting to sync”. During this time, devices may be missing the correct SentinelOne verification state. After a few minutes, the Device Integration page will show the most recent sync time and devices will correctly show their state on their device details page.
A device can be listed as SentinelOne not verified for the following reasons:
- The device is not managed by SentinelOne
- The device has not reported back to SentinelOne in the past hour
- SentinelOne considers the device infected, decommissioned, requires a reboot, has been disabled, or is corrupted
- We’ve been unable to retrieve a serial number from the device
- We’ve been unable to retrieve SentinelOne data from the device
In the case of a recoverable error (e.g. the SentinelOne API is unresponsive), the SentinelOne integration will show that it has failed to sync and the time of the last successful sync. The Device Settings page will reflect the time of the last successful sync. When we are able to reach the SentinelOne API, the errors will be resolved automatically.
In the case of an unrecoverable error (e.g. the SentinelOne credentials are no longer valid, is deleted, or the permissions have been altered), the SentinelOne integration will stop attempting to connect. Admins will be notified via email that the SentinelOne integration needs attention. For these errors, we recommend reconfiguring the integration and inputting new API client information.
Last updated 1 year ago