Deploying the macOS and iOS Clients with Kandji
Configuring Kandji to distribute the Twingate Client
macOS
The recommended way to deploy the Twingate macOS standalone Client via Kandji is by using the Twingate Auto App. The Twingate Auto App is the quickest way to deploy Twingate via Kandji to macOS devices. Further, the Auto App will automatically allow notifications, enable Twingate’s VPN profile, and Twingate’s system extension without any custom configuration.
Alternatively, though not recommended, the standalone Client can be distributed as a custom app. To deploy a custom app, you’ll need to upload a PKG to Kandji. You can download the Twingate PKG installer from the download page.
iOS
To distribute the Twingate iOS Client with Kandji, you will first need to add the Twingate Client app to Apple Business Manager. If you haven’t already, add your devices to Apple Business Manager by following the steps in Kandji’s official documentation.
Once Kandji is linked with Apple Business Manager, you should be able to distribute the Twingate iOS app from Kandji.
Locating the Twingate Client in Kandji
First, sign in to Kandji.

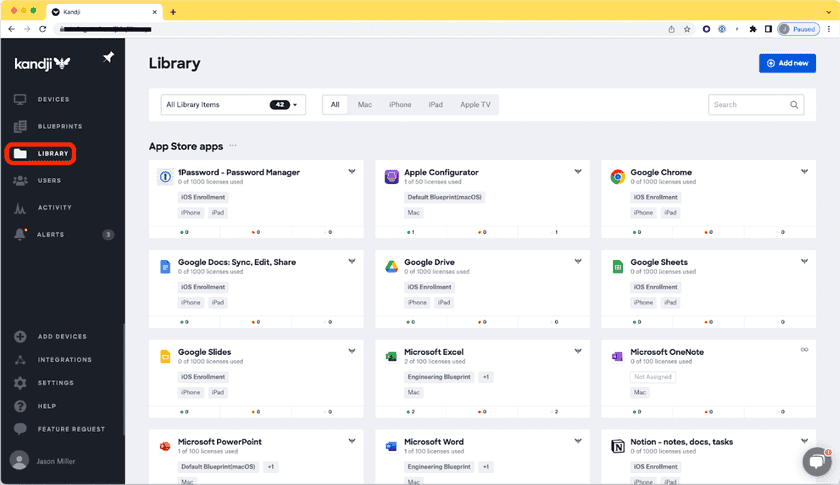
Select “Library” in the sidebar.

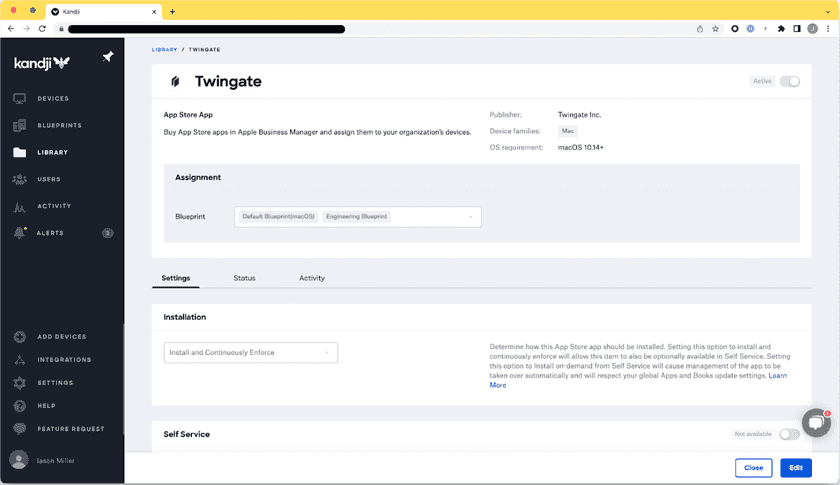
Find the Twingate Client app for macOS and/or iOS and select it.

Tips
Remove manually installed Twingate Clients
If any end users manually installed the Twingate Client on their device prior to implementing Client distribution with Kandji, you should uninstall those Clients first. If you do not do so, those end users may run into issues like their installed Twingate Client differing from your distributed version.
To remove manually installed Clients, set up a temporary policy defined specifically to remove the Twingate Client application from all devices. This policy should be deactivated once you are ready to roll out the Twingate Client via Kandji.
Pre-configuring the macOS Client
You can pre-configure the macOS Client by following the configuration profiles guide. By following this guide, you can automatically enable the VPN configuration for Twingate, enable the system extension, and pre-populate the Network that your users connect to.
Last updated 1 year ago