How to Configure SaaS App Gating with Okta
How to configure Okta and Twingate to protect access to SaaS applications
SaaS app gating with Twingate and Okta enables you to require an authorized connection to a Twingate Connector as a prerequisite for IdP Auth to a SaaS Resource. This is similar in concept to IP whitelisting inside a SaaS app, but the IP check and approval/disapproval happens at the IdP Auth stage instead of being configured in the SaaS application directly.
Twingate Admin Console Prerequisites
-
Add your IdP’s authentication FQDN as a Resource. As this use case is dependent on an IP address associated with one or more Twingate Connectors, the first step is to create a Twingate Resource associated with your organization’s Okta tenant URL (e.g.
tenant.okta.com) and associating that Resource with one or more Groups. Doing this means that authorized users attempting to authenticate through Okta will be coming from the exit IP address associated with the Twingate Remote Network used to enable connectivity to the new Resource. This is the IP address you’ll use as part of the Okta App Policy configuration. -
Apply a Device-only Policy to Your IdP Resource. A Device-only Resource Policy, when applied to the IdP Resource (e.g.,
tenant.okta.com), allows users to route traffic through the Connector to access the IdP login portal without authentication dependencies that can create access loops. This policy prevents the common “chicken-or-egg” scenario, where users can’t authenticate with the IdP because network access to the IdP portal requires prior authentication via Twingate. By allowing users to reach the IdP through a Device-only policy, they can meet sign-on requirements without encountering this authentication loop.
Okta Identity Management Platforms
Okta offers two primary identity management platforms: the Classic Engine and the Identity Engine (OIE). See more info regarding the differences between the two and upgrade instructions.
Okta Classic Engine
Create an Okta Network Zone
From the Okta Admin Console, navigate to Security > Networks:

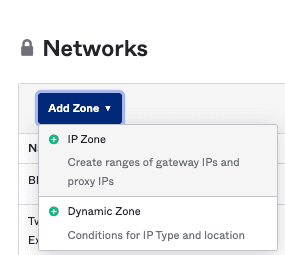
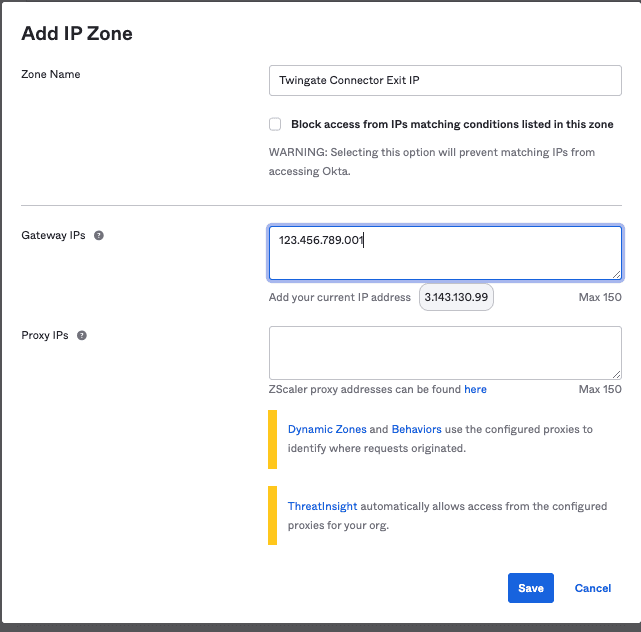
Multiple Connectors will usually be behind a NAT gateway and hence present a single public IP address. If your Connectors are not behind a NAT for outbound Internet access, then you may need to add multiple IP addresses to the zone. (This is not common.)
Choose a Zone Name that you’ll easily identify with this use case (eg. Twingate Connector Exit IP). Insert the public IP address used by the relevant Twingate Connector(s) in the Gateway IPs section.
Leave other options unchecked/empty and click Save. This is the Zone you’ll use for your app-specific rules in Okta.
Edit the App Sign On Policy
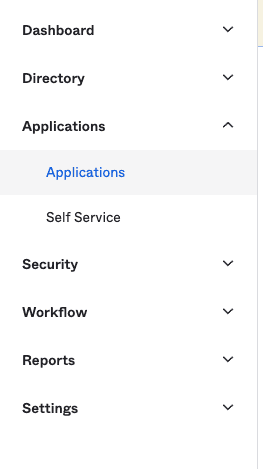
From the Okta admin console, navigate to Applications > Applications:

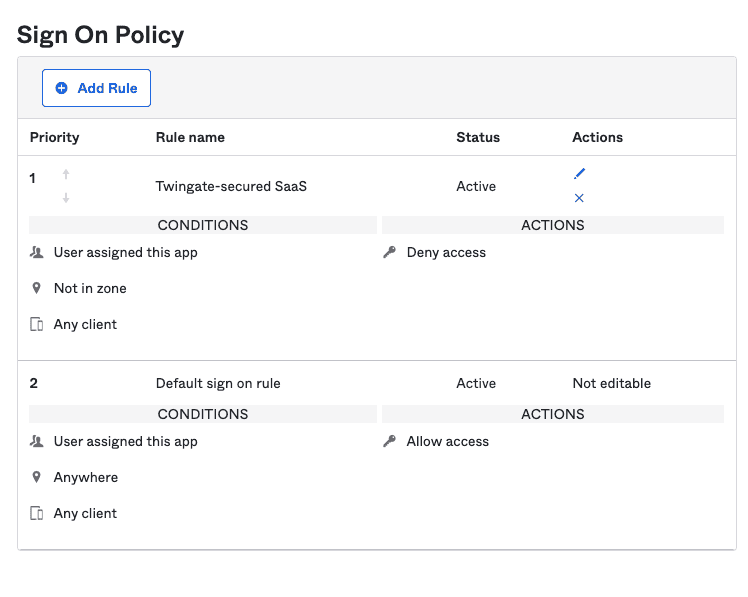
| Setting | Value | Notes |
|---|---|---|
| Rule Name | eg. Twingate-secured SaaS | |
| People > Who does this rule apply to? | Users assigned to this app | |
| Location > If the user is located | Not in Zone | Note that you must use a deny rule for this configuration. We are denying access to the app if the user is not in the network zone. |
| Location > Network Zones | < The name of the IP Zone you created in the previous steps > | |
| Client > If the user’s platform is any of these | eg. Any client | |
| Actions > Access > When all conditions above are meant, sign on to this application is | Denied | Note that you must use a deny rule for this configuration. We are denying access to the app if the user is not in the network zone. |
Okta Identity Engine (OIE)
Create an Okta Network Zone
From the Okta admin console, navigate to Security > Networks:


Multiple Connectors will usually be behind a NAT gateway and hence present a single public IP address. If your Connectors are not behind a NAT for outbound Internet access, then you may need to add multiple IP addresses to the zone. (This is not common.)
Choose a Zone Name that you’ll easily identify with this use case (e.g., Twingate Connector Exit IP). Insert the public IP address used by the relevant Twingate Connector(s) in the Gateway IPs section.
Leave other options unchecked/empty and click Save. This is the zone you’ll use for your app-specific rules in Okta.

Edit the App Sign On Policy (now Authentication Policies)
From the Okta admin console, navigate to Security > Authentication Policies:

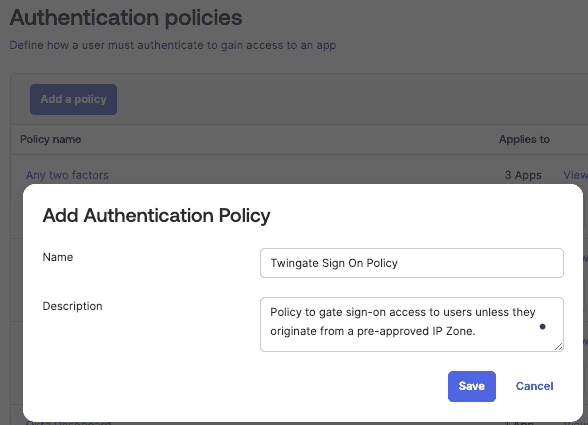
From the Authentication policies section of the Okta admin console, select Add a policy, specify a name and description, and then click Save.
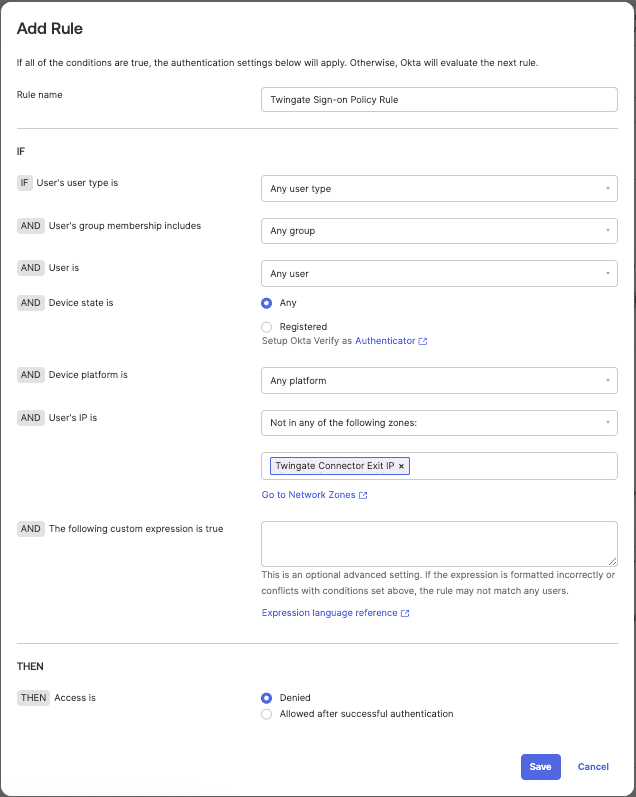
Within the Authentication policy just created, select Add rule.

- Specify a rule name
- Set
AND User's IP isto Not in any of the following zones: and specify the IP Zone as the one we created earlier. - Last but not least, set
THEN Access isto Denied to effectively deny access if the user is not originating from the Connector IP that we previously specified. - Hit Save when you are ready to confirm rule creation.
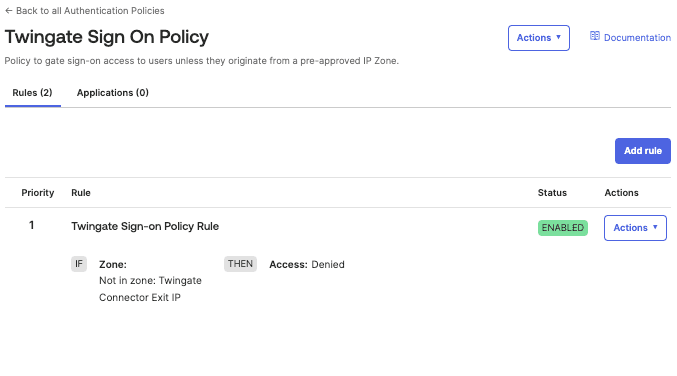
This will take us back to the Policy with our other rules and we should now see our new Twingate Sign-on Policy Rule.
Now, to apply this to our Application(s), we need to add an Application to our policy. Navigate to the Applications tab and click Add app.
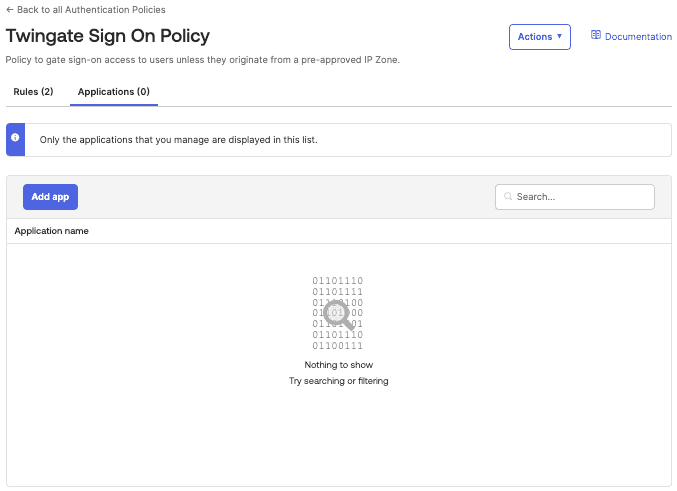
For this example, we will be adding Google Workspace as our App. We will select Add next to its listing and click Done.
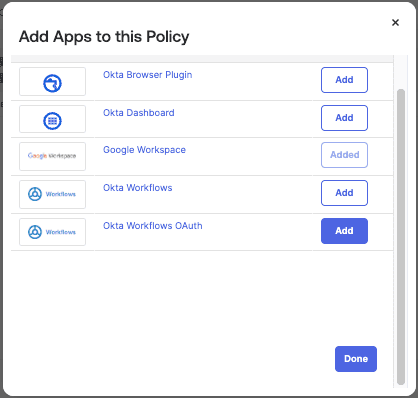
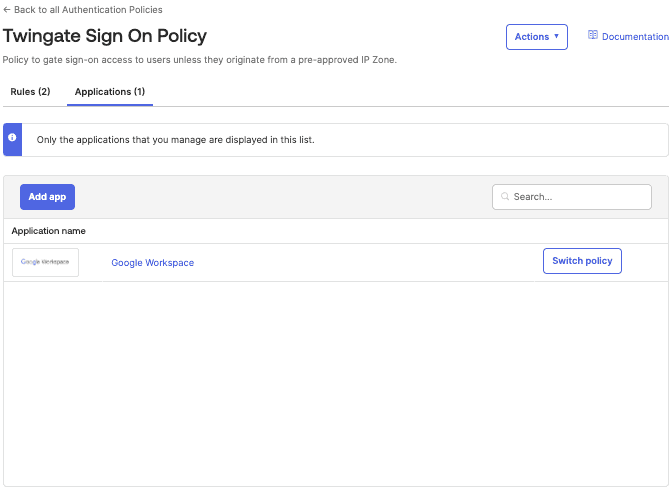
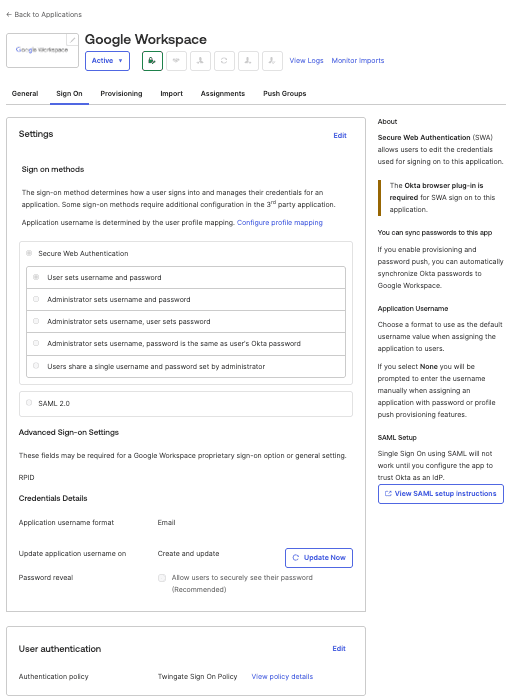
Alternatively, you can navigate back to Applications > Applications in the Okta admin console sidebar, open up the specific app and specify the authentication policy under Sign On.
That’s it!
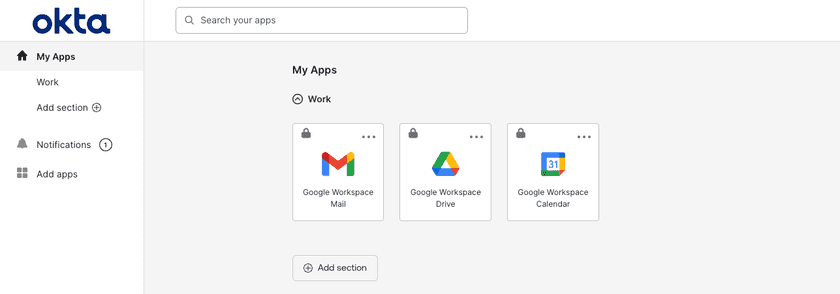
There should now be a gate on the SaaS app, preventing users from authenticating into the app unless they are signed into Twingate and originating from the pre-approved IP Zone.
Last updated 1 year ago