Twingate Okta Application Configuration
For an overview of the Okta configuration process, see this article.
Activate the Twingate Okta application
1. Under Applications page, select Browse App Catalog.

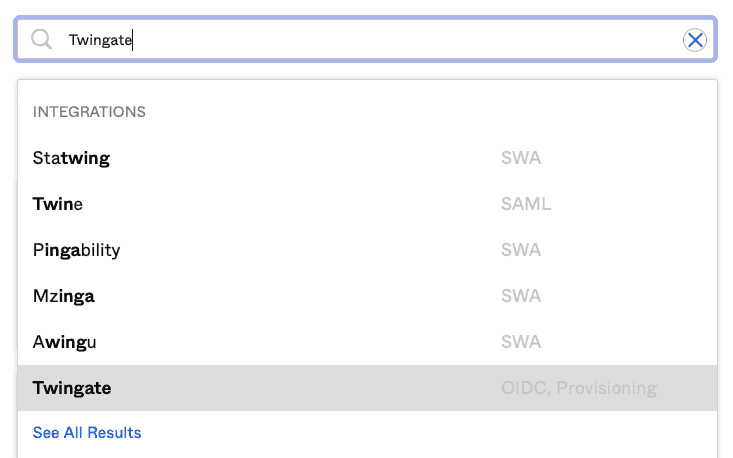
2. Search for Twingate, and then select it.

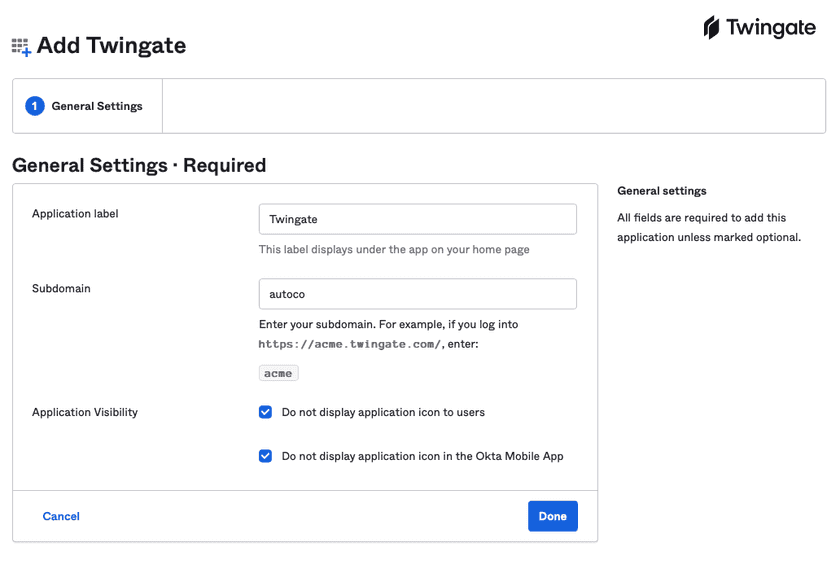
3. Click Add

4. Enter your Twingate subdomain in the Subdomain input.
We recommend that you check the two ”Application Visibility” boxes (shown below) to hide Twingate in your users’ Okta dashboard because users can only authenticate when starting their session from the Twingate Client application on their device.

5. Assign the Twingate application to users or groups.
Make sure to assign at least yourself so you can authenticate via Okta to complete the integration.
Suggestion
If you plan to have multiple admins in Twingate, we recommend that you create an Okta group e.g. “Admins” and assign the Twingate Okta app to that group. Avoid using a different group that includes yourself because if you remove that group from Twingate Okta app in the future, your user will also be removed, and you will be unable to log in Twingate.

Completing the Okta integration in Twingate
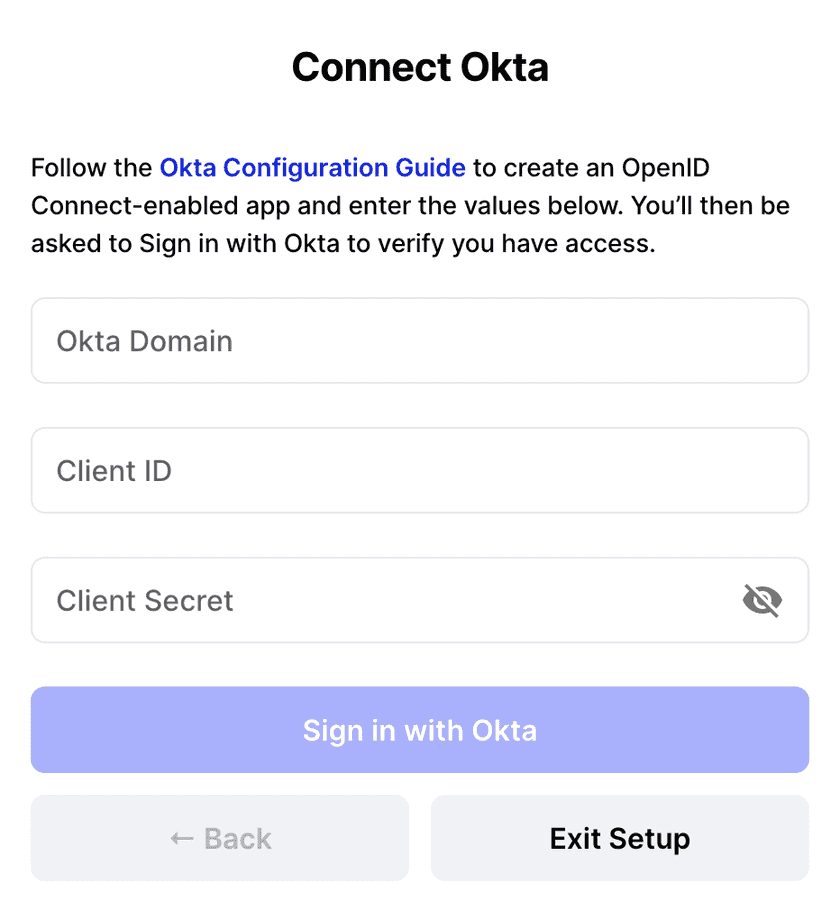
When activating the Okta integration in the Twingate Admin console, you will be presented with the screen below.

- For the Okta Domain, you can copy it in the global header located in the upper-right corner of the Okta dashboard (see this Okta guide for details).
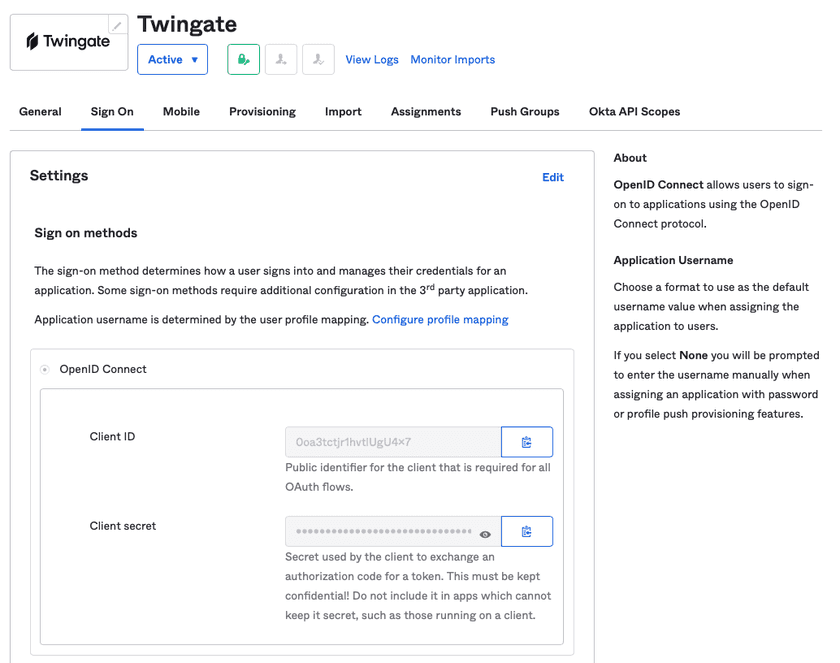
- For the Client ID and Client Secret, you can copy those values in the Sign On tab of the Twingate application you created in Okta.

In Twingate, you’ll be asked to sign in with Okta to make sure the credentials are entered correctly. Follow the wizard to complete activate Okta integration.
Last updated 2 years ago