macOS
Installing Twingate
Installing from the Mac App Store
If you have an Apple ID configured on your device, simply search for “Twingate” in the Mac App Store or go to get.twingate.com to be redirected automatically. The client app can also be installed in managed environments following a few additional steps.
Installing without the Mac App Store
If you would prefer not to use the Mac App Store or don’t have an Apple ID, follow the directions to set up the standalone Client.
Apple Silicon Support
The Twingate Client includes native support for Apple processors.
Set up Twingate
Run the Twingate application. If it is your first time running Twingate, the onboarding wizard will prompt you to configure settings: allowing notifications, adding VPN configurations, and enabling a system extension (if using the standalone macOS Client). For each setting, you will be directed to the related settings option within the macOS operating system configuration.
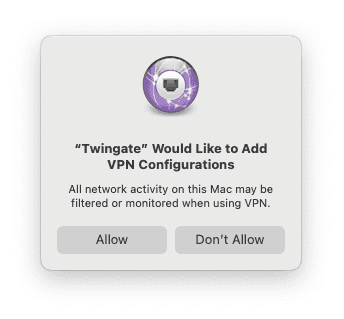
Setting up VPN configurations and a system extension (if using the standalone macOS Client) are required for Twingate to function. Enabling notifications from Twingate is strongly encouraged, as notifications are used to prompt you for additional authentication for sensitive Resources when necessary. The macOS configurations for each setting are below:
Allowing notifications:

Configuring VPN:

Enabling the system extension (if using the standalone macOS Client):

Joining your network
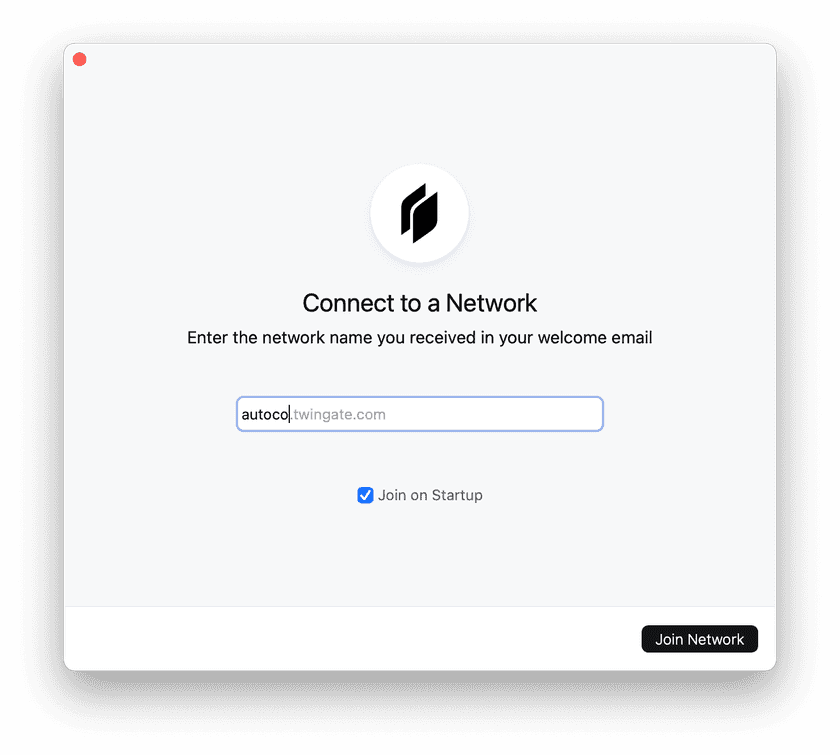
Enter your network name, eg. “autoco”. You can find your network name in your welcome email. If you are returning to Twingate, this will be pre-filled.
Click “Join Network” to continue.

Authenticate with your Identity Provider
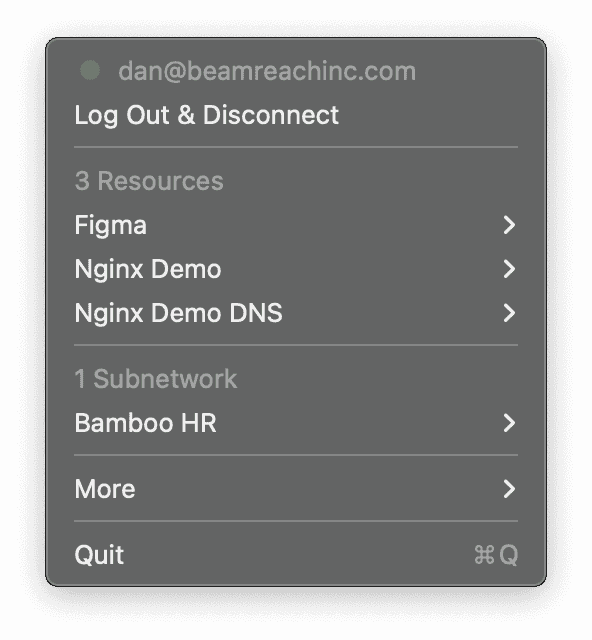
Use the drop-down menu to connect to Twingate.

- The Twingate client will open a new browser window to authenticate you with your identity provider. Use your existing login credentials. If you are already authenticated, you will usually not need to log in again.
- Once authentication is complete, the browser will prompt you to “Open Twingate.app”. Make sure you click this to activate the Twingate client.
- The browser window will then close and the Twingate client will show that it is now online.

At this point you can leave Twingate connected in the background. It will not affect your regular internet browsing and only intercept network traffic for private Resources.
Last updated 2 years ago