How to Secure Private Resources in Azure with Twingate
This page provides a step-by-step guide to setting up Twingate to access private Resources in Azure.
Let’s take a simple example Azure tenant, with one virtual network, a VM running an SSH server, and a VM running an HTTP server. None of the servers have public IP addresses, so they aren’t accessible over the Internet.
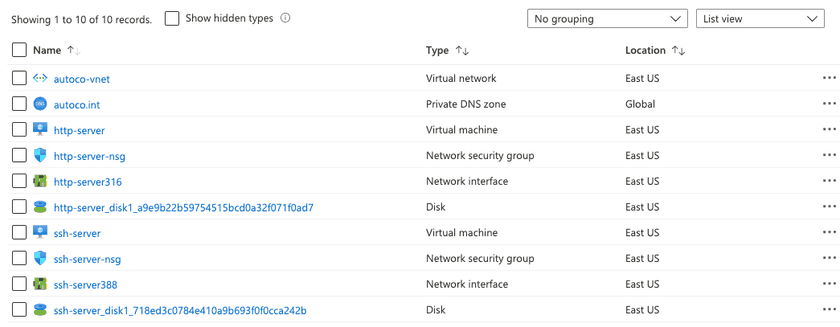
Preparing the Network
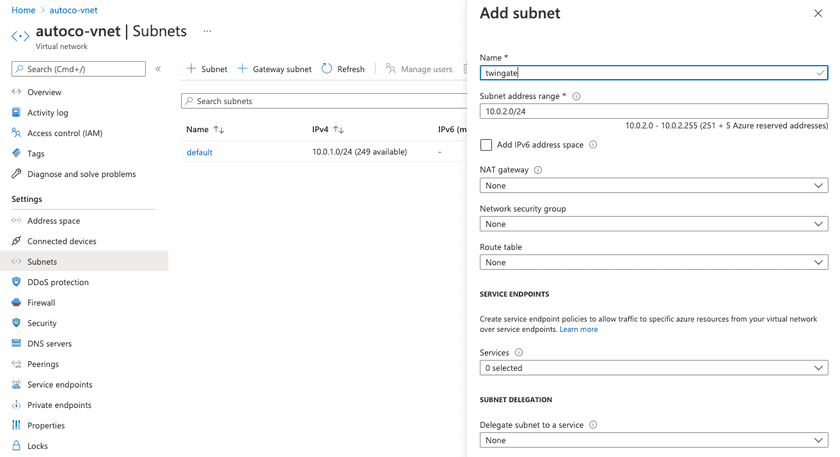
First, we need to deploy a Connector. To do this, we need to create a new subnet inside of Azure, because our Connector runs as a Container instance, and in Azure, Containers cannot be in the same subnet as VMs or anything else besides other Containers.
1. Go to the Virtual Networks page.

2. Next, add some address space to the virtual network.

3. Now, go to the Subnets page.

4. Using the new address space we’ve added, add a new Subnet and give it a name.
Deploying the Connector
Once you’ve created the subnet, you can deploy the Connector. This will allow you to access the private Resources in Azure. In order to deploy the Connector, please follow the instructions found in our Azure Connector Deployment Guide. You will need to have the information about the Resource Group, VNet, and Subnet you created in the previous steps.
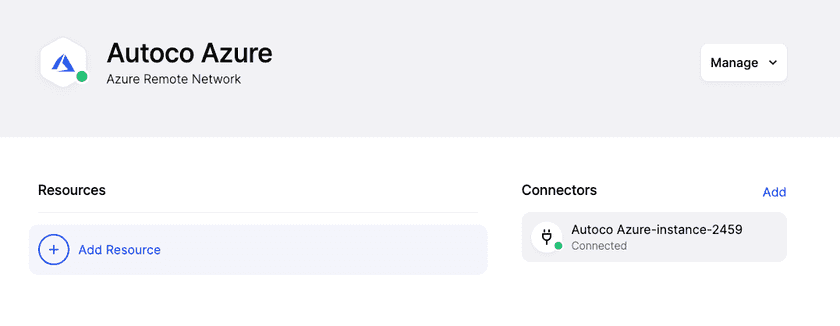
When the Connector has successfully deployed you will see the container service running inside of Azure and be able to reload the Twingate Admin Console and see the Connector status as green. If you have any issues, please refer to the troubleshooting section in the deployment workflow screen.
Creating Resources
Next, we’ll create some example Resources for our two servers and connect to them.
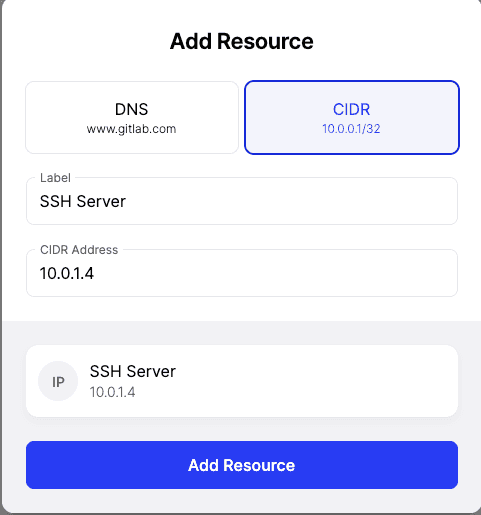
1. First, let’s create a DNS Resource with our organization’s internal DNS name
Note that we didn’t need to specifically configure the zone in Twingate; so long as it is defined for the Connector, names will resolve successfully.
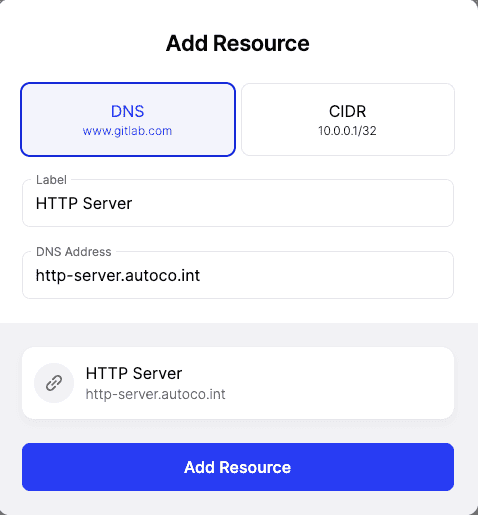
You can also use the internal IP of a VM to define a Resource, but note that users will only be able to access the Resource using the defined address, whether IP, DNS, or both.
Accessing Resources
Connect to Twingate using the Twingate Client. Once connected, you should see the Resources appear in the client application’s tray menu (Windows or macOS), within the app itself (Android, iOS, ChromeOS), or via the command line for Linux.
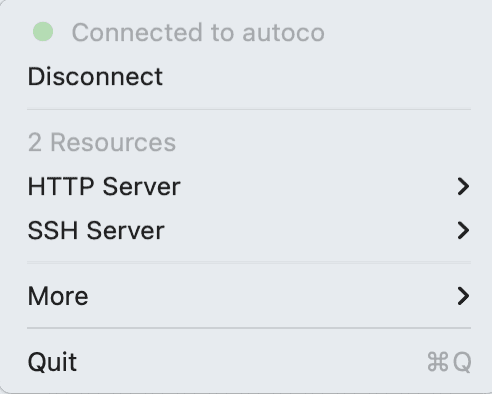
SSHing into our internal IP now works.

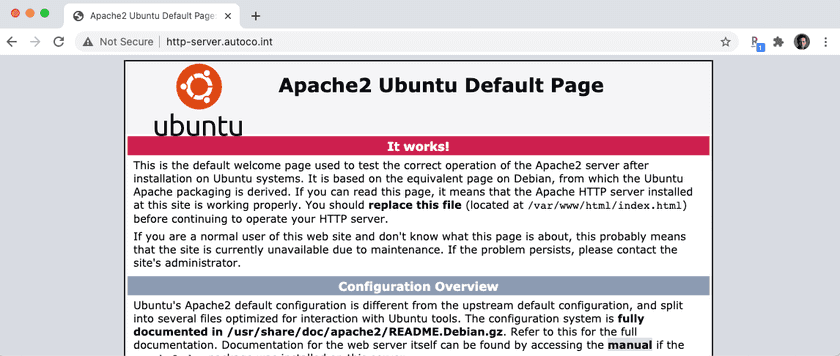
Accessing the HTTP server using its internal domain also works.
While this was a simple example, the same concepts can be applied to deploying more complex applications inside of Azure, or in a hybrid deployment if some Resources are on premises.
Last updated 2 years ago