How to Configure Netskope DLP to Work with Twingate
Netskope provides organizations with data loss prevention capabilities via a client application installed on devices. This guide explains how Netskope can be configured to ensure compatibility between its client and Twingate’s Client, when both are installed on the same device.
1. Create a certificate pinned application
Start by creating an app definition in Netskope that will represent the Twingate Client application. In the Netskope console, go to Settings (bottom left corner) and, once there, click on App Definition. Then, create a new certificate pinned application (we suggest calling it “Twingate”).
Add entries for all applicable platform types and in the definition field, specify the names of Twingate Client processes.
For macOS, select Exact and use the following definition:
Twingate, Tunnel Provider macos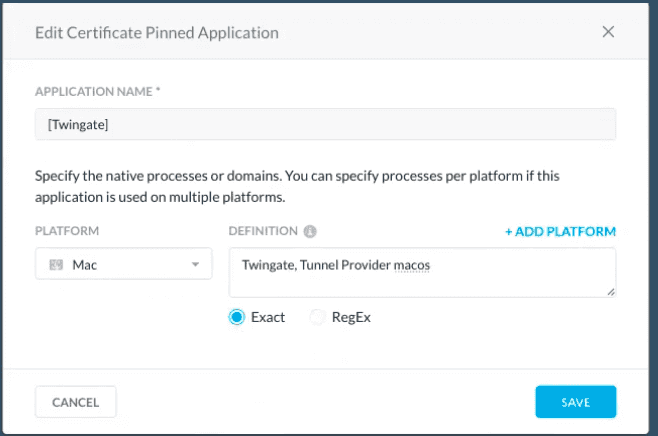
For Windows, select Exact and use the following definition:
twingate.exe, twingate.service.exe, twingateupdater.exe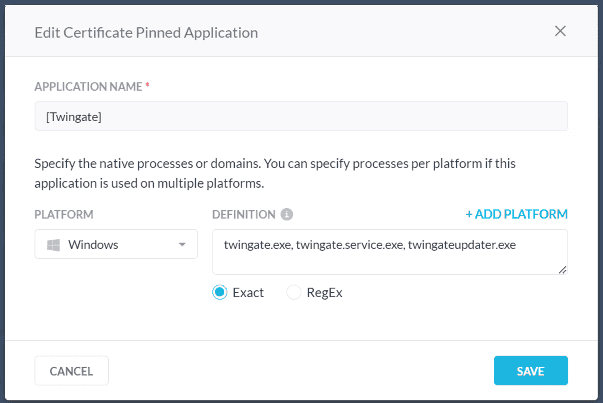
2. Create an exception
We will now create an exception for the Twingate Client in Netskope.
Go back to Settings and then Steering Configuration. Create a new one if you do not have any. Otherwise, open up your existing configuration. Under the “Exceptions” tab, create a new exception:
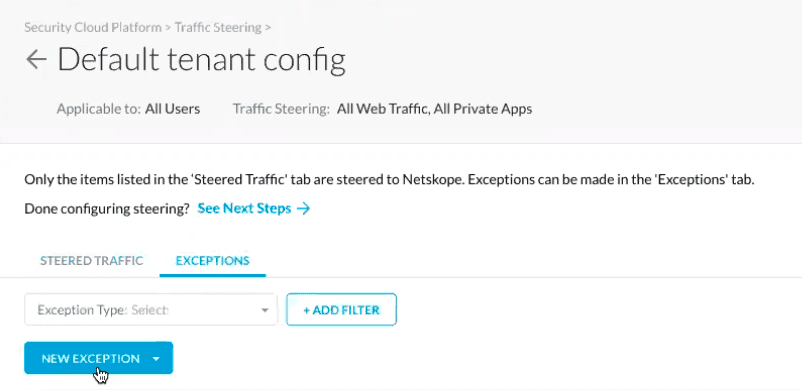
Select “Certificate Pinned Application” as the exception type:
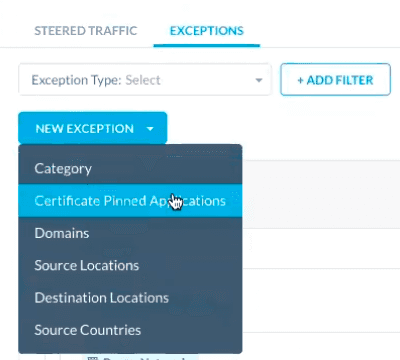
Select the Twingate application created at the beginning of this guide. For the custom app domains field, use * and for each operating system, select bypass:
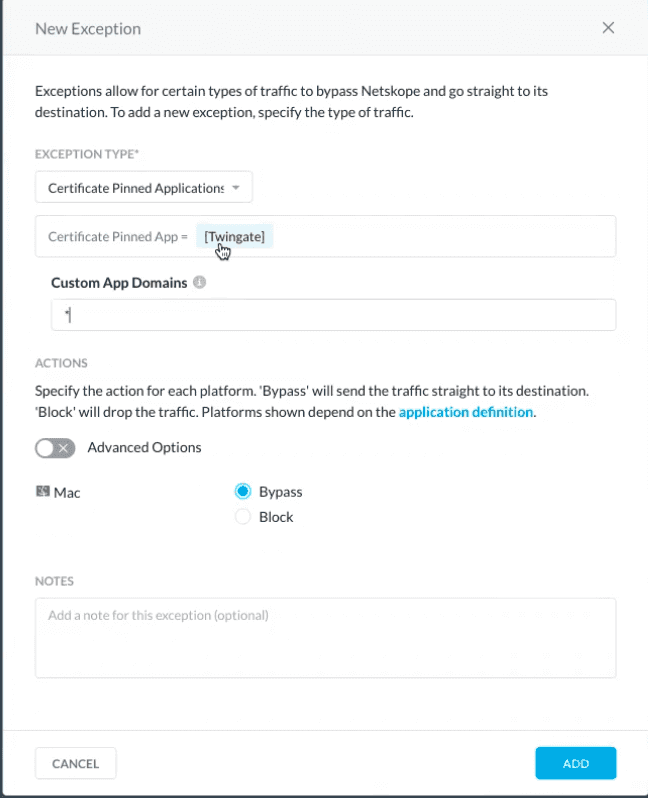
You can now save the exception. We have now completed configuration.
3. Apply the configuration
Click on the Netskope client icon and then click Configuration. In the panel that appears, click Update. This action will pull the updated Netskope configuration to the client. Then, restart the Twingate Client.
Last updated 2 years ago