How to Deploy Clients with Microsoft Intune
Guide to configuring Microsoft Intune & Endpoint Manager to distribute the Twingate Client
There are a number of options available to administrators for deploying the Twingate Client to Windows devices. One of the most popular options is to use Microsoft Endpoint Manager (Intune) to deploy the Twingate Client to managed devices. Microsoft Endpoint Manager provides great flexibility in deploying packages to managed clients.
Another option is to deploy a custom script to install the Twingate Client. This can be useful in environments where Microsoft Endpoint Manager is not available or where a more customized deployment is required.
This guide will cover both of these options, starting with Microsoft Endpoint Manager.
Deploying the Twingate Client with Microsoft Endpoint Manager
At a high level, deploying the Twingate Client with Microsoft Endpoint Manager requires:
- Creating a package to deploy the Twingate Client.
- Assigning the package to devices for deployment.
Creating a package to deploy the Twingate Client
1. Review Twingate’s Windows Managed Device page for the latest MSI information
See the Windows Managed Device page for the latest MSI information and available deployment options. Please make sure to review the prerequisites and deployment options before proceeding.
2. Download the Twingate Client installer
Download the latest version of the Twingate Client Windows MSI installer.
3. Add Twingate to Endpoint Manager
Open Endpoint Manager and click on the Apps section.

Click the Add button to begin deploying the Twingate Client.

In the Select app type section, browse down to the Other section, choose Line-of-business app and click the Select button.

Click the Select app package file link.

Click the folder icon and browse to the downloaded MSI file.

Once you select the MSI file, the file information should populate. Next, click OK.

Fill out the Publisher and the command line arguments fields. The command line arguments will reference your Twingate tenant name and allow you to define whether optional updates should be automatically applied. Then, click Next.

Assigning the package to devices for deployment
Set up your target Assignments and click Next.
Review your package settings and click Create to start the roll out.

Deploying the Twingate Client with Intune Platform Scripts
If you are unable to use Microsoft Endpoint Manager or require a more customized deployment, you can deploy the Twingate Client using a custom script via Intune’s Platform Scripts. In addition, you can use a custom script to set custom features or configurations that are not available through Microsoft Endpoint Manager.
As an example, we will be deploying the Twingate Client using a PowerShell script. This script will download the Twingate Client MSI installer and install it on the device. It will also install the required .NET Desktop Runtime if it is not already installed.
For this example we will be using a generic script hosted in a public GitHub repository. You can find the script here.
This script is provided as an example and should be reviewed and tested before deploying in a production environment.
Creating the custom script
Any custom script used to deploy the Twingate Client will need to:
- Download the Twingate Client MSI installer
- Check for and optionally install the appropriate .NET Desktop Runtime
- Install the Twingate Client with the MSI installer
When installing the Client with the MSI installer you can utilize the same command line arguments as you would with Microsoft Endpoint Manager. Use the supplied script as a starting point and modify it as needed for your environment.
Deploying the custom script
To deploy the custom script, we will use Intune’s “Script and remediations” feature. This feature allows you to deploy scripts to devices and run them as needed.
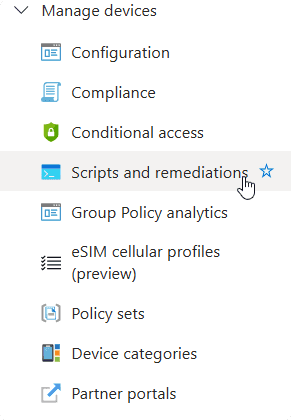
- Open Microsoft Intune and click on the Devices section
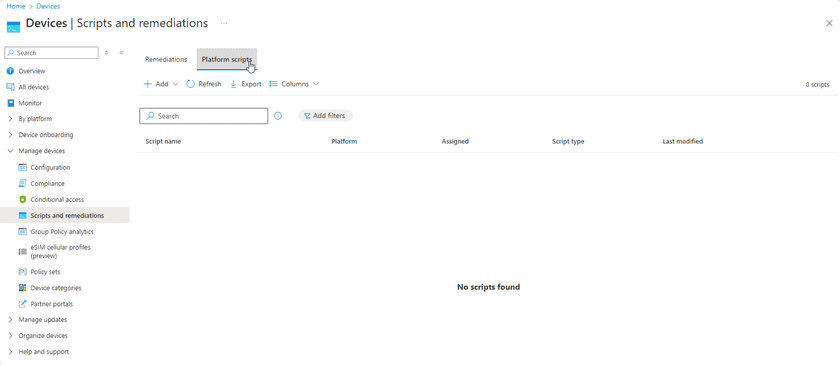
Devices - Click on Scripts and remediations and then Platform scripts
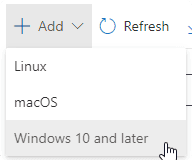
Scripts and remediations - Click on Add and then Windows 10 or later
Add new script - Fill out a name for the script, and a description if desired, then click Next

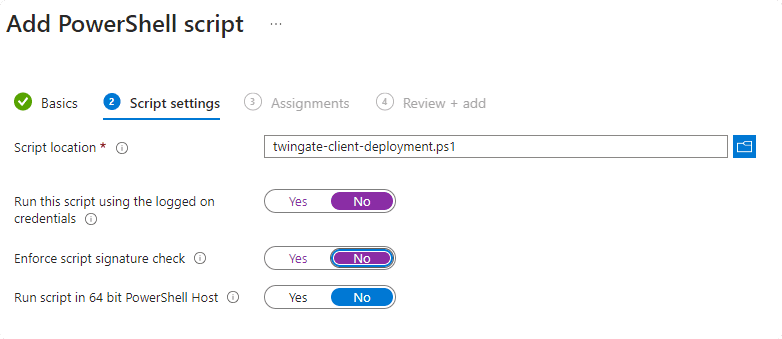
Script name and description - On the Script Settings page:
- Locate the script file on your system and select it
- Set Run this script using the logged on credentials to No - This is important as the script will need to run with elevated permissions
- Set Enforce script signature check to No
- Click Next
Script settings
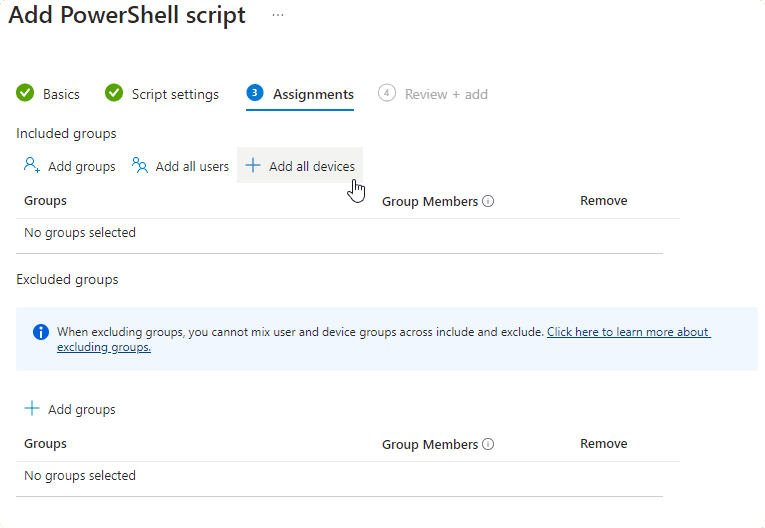
- On the Assignments page select the groups or devices you want to deploy the script to and click Next
Script assignments - Review the settings and click Add
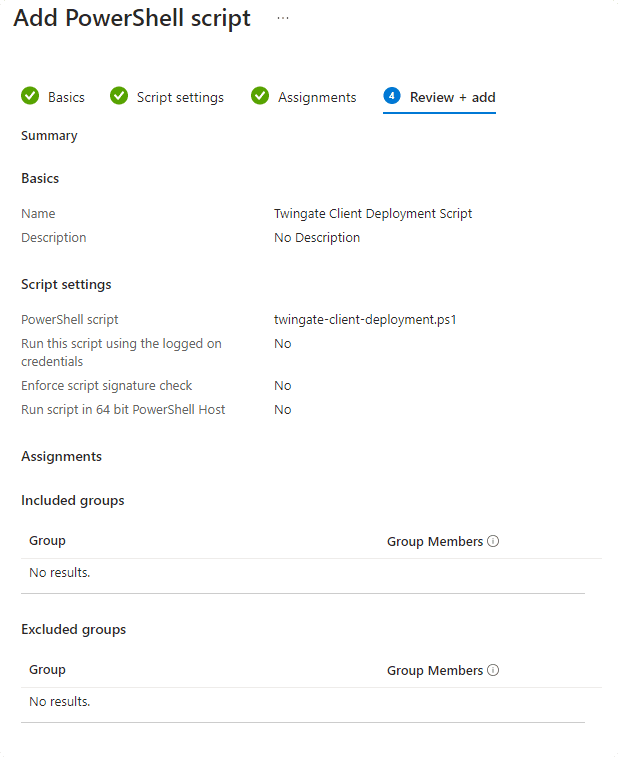
Review and add


The script will now be deployed to the selected devices and will run as specified in the script. You can check its progress in the script overview.
Deploying the Twingate Client with Intune Detection and Remediation
While Intune’s Platform Scripts feature allows you to run a Powershell script in a one-time fashion, you may want to consider using Intune’s Detection and Remediation feature to ensure that the Twingate Client is installed and running on all devices. This will allow you to automatically deploy the Twingate Client to devices that are not compliant with the detection script.
Per Microsoft’s documentation, Detection and Remediation requires specific device licenses, such as Windows 10/11 Enterprise E3 or E5. Please check their documentation and verify that your organization has the appropriate licenses before proceeding.
The difference between Platform Scripts and Detection and Remediation is that Detection and Remediation allows you to run a script on a schedule. It also automatically checks for compliance with the detection script. If the device is not compliant, it will run the remediation script to bring the device into compliance.
For this to work, you will need to create two scripts:
- A detection script that checks if the Twingate Client is installed and up to date
- A remediation script that installs the Twingate Client if it is not already installed
The detection script will run on a scheduled basis and look for an installed version of the Client application, and compare the version to the Twingate Client Changelog RSS feed. If the Client app either isn’t installed, or the version doesn’t match the latest released version, the remediation script will run to install the latest version of the Twingate Client.
Example scripts are hosted in a public GitHub repository for both the detection script and the remediation script.
Note: The remediation script linked above is the same script used in the previous section. It is important to note that the remediation script will need to be modified to meet your specific requirements, and is provided as-is. It should be tested thoroughly before being deployed.
Creating the script package
Following the instructions in Microsoft’s documentation for creating a custom script package, we will need to create a package and set a schedule for it to run against devices.
- Open Microsoft Intune and click on the Devices section
Devices - Click on Scripts and remediations in the Manage Devices section
Scripts and remediations - It should already be on the Remediation tab, but if not, click on Remediation to select it
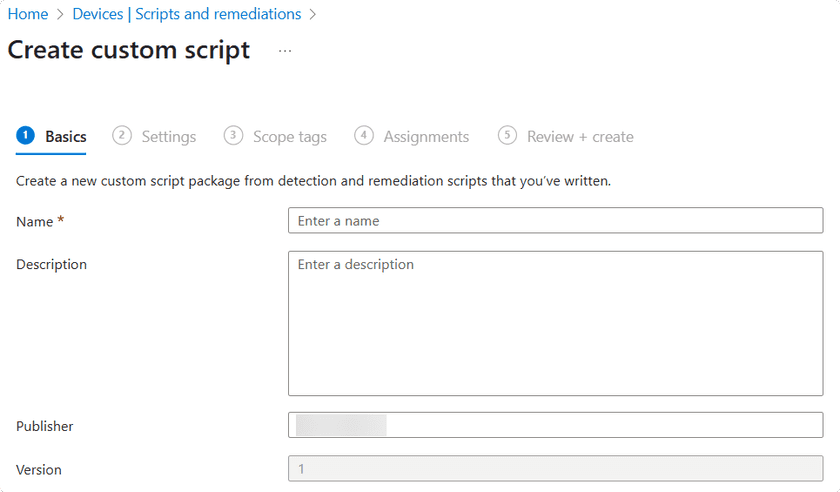
- Click ”+ Create” at the top to create a new Script Package
- On the Basics page, fill out a name for the package, and a description if desired, then click Next
Package Basics - On the Settings page, select the Detection script and Remediation script you would like to use. These can be the example scripts from the GitHub repository, if they have been modified for your organization and tested.
- At the bottom of this same page, make sure all of the options are set to No - this will ensure that the scripts run as a system user and without any special requirements. Click Next when done.
- If your organization uses Scope tags you can set them on the next page, otherwise click Next to skip this step.
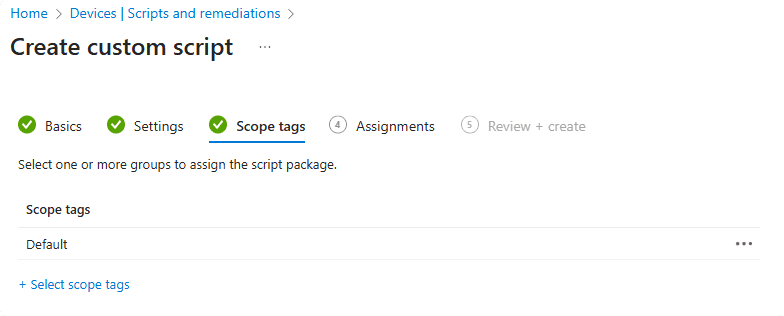
Scope tags - On the Assignments page, select the groups or devices you want to deploy the script to. You can select All Devices or specific groups of users for the script package to run against.
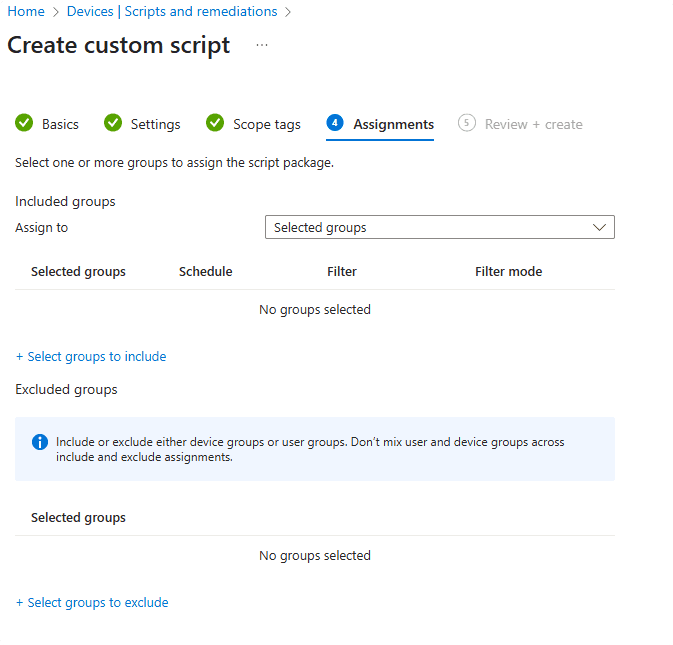
Assignments - Once you have selected Group(s) or All Devices, you will be able to set a schedule and filters, if necessary. We suggest running the script on a daily basis, but it can be run as frequently as hourly. Click Next when done.
- On the final screen, review the settings and click Create to create the package.


Once the script package has been created, it will automatically schedule the next run. If it’s been set to run hourly, it will normally trigger within several minutes and then run every hour after that. If it’s been set to run daily, it will trigger at the next scheduled time.
If you need it to run immediately, you should edit the Assignments and schedule it to run once at a specific time. This will trigger the script to run immediately. It will then revert to the schedule you set in the previous step.

The script will run on in-scope devices and deploy the Client application over time, and as you enroll new devices in your Intune instance they will also receive the script package and install the Twingate Client. You can check its progress in the script overview.
Last updated 2 months ago