How to sign up for Twingate Starter: Simple, Secure & Free Remote Access to your home network
Jimmy Li
•
Jan 30, 2022
There are common approaches to accessing devices and apps on your home network while you’re away from home, but as the table below illustrates, they are cumbersome, insecure, and potentially expensive. We are excited to offer a new simple, secure, and free solution: Twingate Starter!
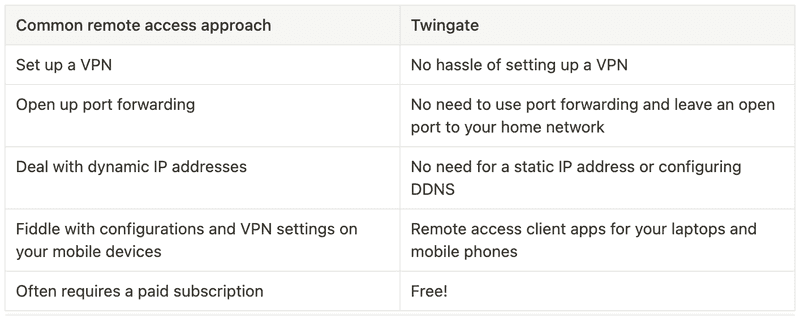
Twingate remote access does not require setting up a VPN, port forwarding, static IP addresses, or configuring DDNS
We’ve created a quick start guide below to walk you through the steps to sign up for a free Twingate Starter account. With this account, you can then easily configure secure remote access to lots of devices and servers, including:
On these devices and servers, you can then unlock simple, secure, and free remote acess to a variety of apps and use cases, including
Please join us at our community forum to share and discuss your experience and projects.
Prerequisites
Twingate can be installed either as a Docker container or directly on the OS. If you prefer the first approach, please first install Docker.
Sign up for Twingate
Twingate Starter is a new free plan that is designed for home and personal use. If you don’t have an account already, please click here to sign up for a Starter account. Creating an account is simple and you can choose to sign up using a Google, Github, or other existing account you have.
Complete the short questionnaire and choose a Network Name and URL on Step 3. This URL (in this example, “jlhome‚) will be a unique identifier that you’ll use later to connect your clients.
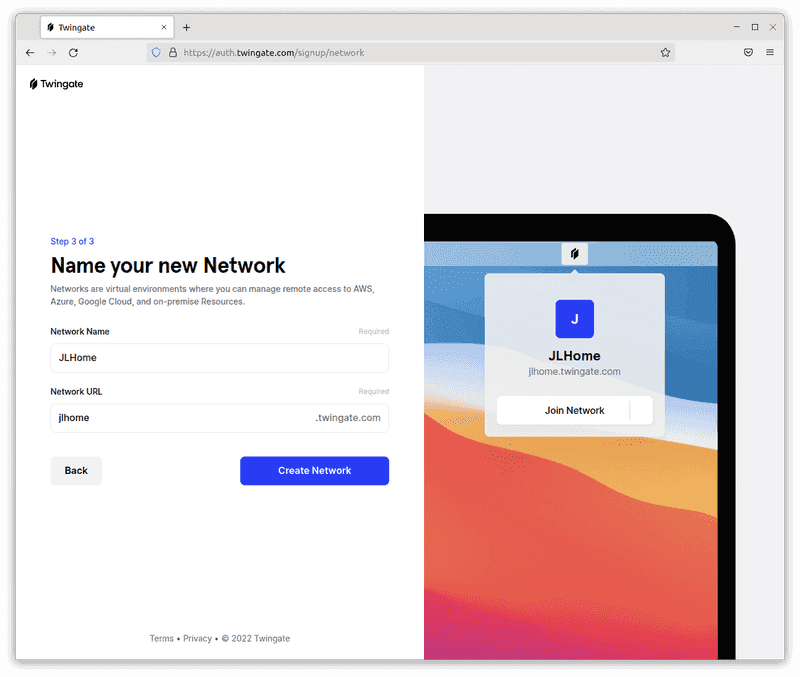
Name your network
At this point, you should see a home screen like the one below.
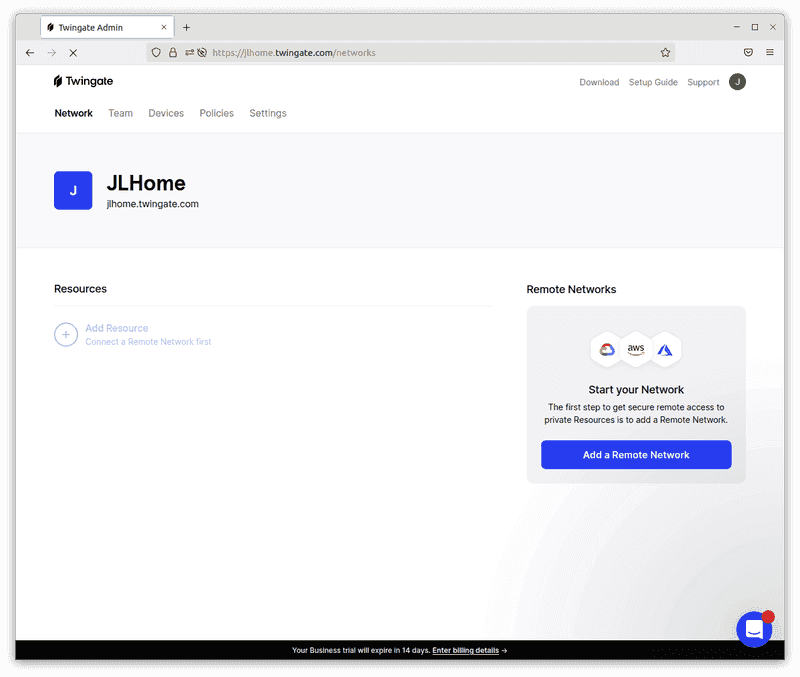
Signup complete
Add a Remote Network
Click on the “Add a Remote Network‚ button, and you should see a popup. Twingate supports many different kinds of remote networks. If you are looking to connect to AWS, Azure, or GCP, then select the appropriate option in the dropdown menu. If you are connecting to your home network, choose “Other‚ for the Location. Regardless of which option you choose, give the network a name, like “Home Network‚, then click “Add Remote Network‚ to create it.
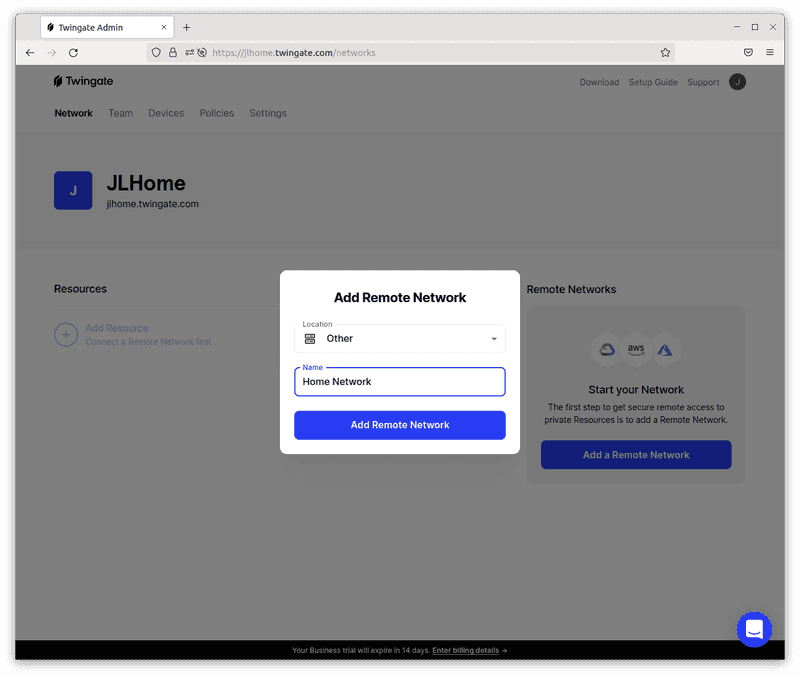
Add a Remote Network
Add a Connector
The Twingate Connector is a piece of software that allows for secure access to your remote network and the devices connected to it (e.g., your Raspberry Pi or Synology NAS). For it to work, you first need to deploy the Connector on your devices. Click on the remote network you just created and you should see a screen like the one below with two automatically generated Connectors (the names are random) that are not yet connected.
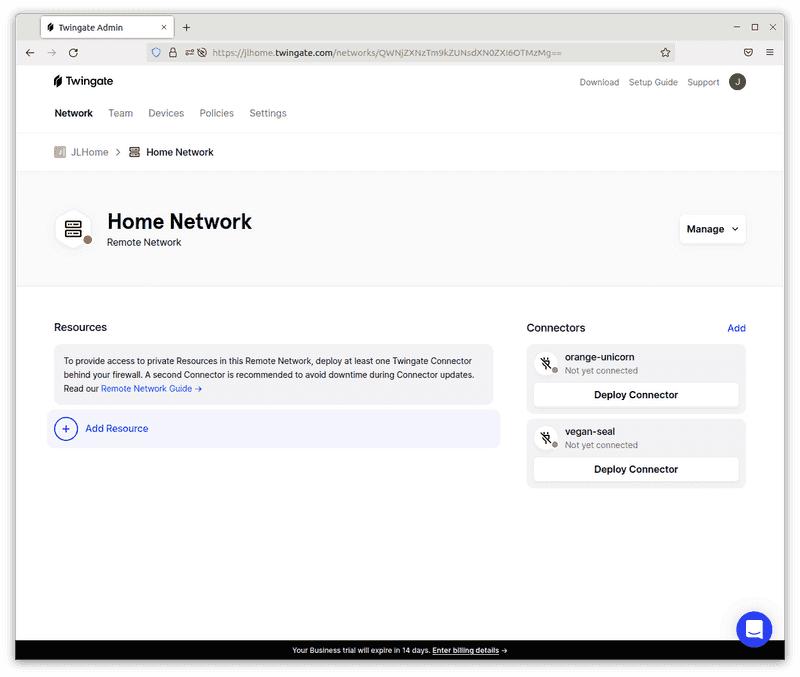
Add a Connector
Choose one of the two Connectors and click on the “Deploy Connector‚ button. You’ll see a Controller configuration page like the one below with several deployment options. The Connector can be deployed on a variety of devices and servers. Please follow the appropriate instructions below:
After deploying the Connector, return to the Twingate web portal and you should see that the Connector’s status has automatically turned green, indicating that the Connector was successfully deployed.
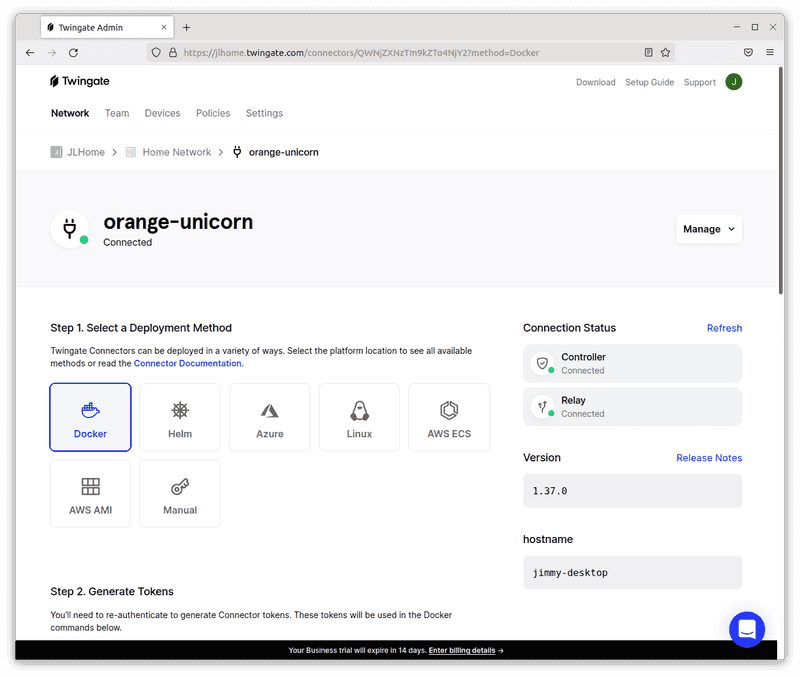
Connector is connected
Add a Resource
You’ve now set up a Connector on your Synology NAS. This Connector enables remote access for any device or service on your home network (called a “Resource‚ in Twingate). We’ve put together some guides for things that we’re tinkering on at home ourselves, but please join us in the community forum to share how things went and what other cool use cases you’ve discovered!
Sharing is Caring
Do you want to share access with a family member? You can easily do this from the Twingate web UI. Just go to the Team tab and click “Invite User‚ to send an email invitation. The recipient would simply follow the same steps to download the Twingate client, join your network, and get access to the devices and resources that you choose.
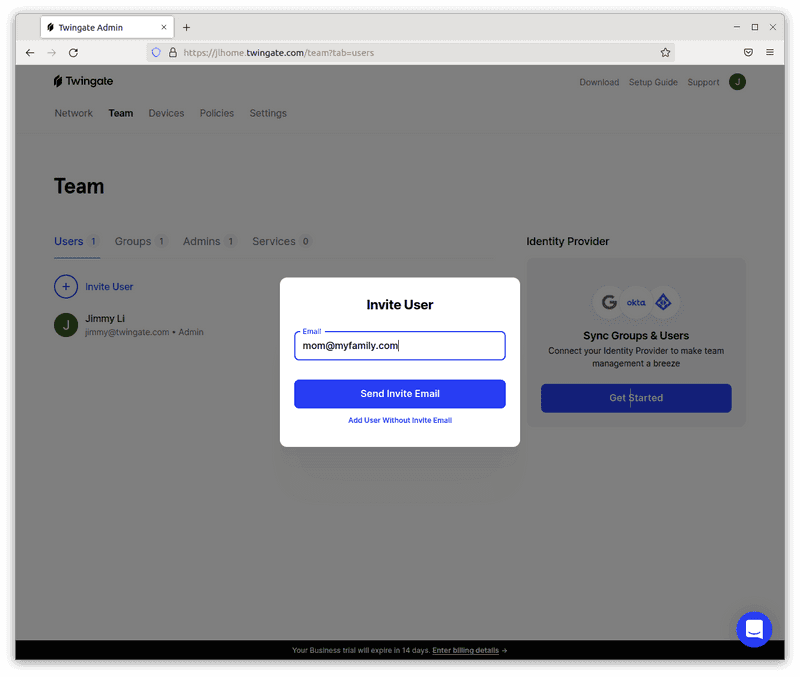
Invite other users
Rapidly implement a modern Zero Trust network that is more secure and maintainable than VPNs.
How to sign up for Twingate Starter: Simple, Secure & Free Remote Access to your home network
Jimmy Li
•
Jan 30, 2022
There are common approaches to accessing devices and apps on your home network while you’re away from home, but as the table below illustrates, they are cumbersome, insecure, and potentially expensive. We are excited to offer a new simple, secure, and free solution: Twingate Starter!
Twingate remote access does not require setting up a VPN, port forwarding, static IP addresses, or configuring DDNS
We’ve created a quick start guide below to walk you through the steps to sign up for a free Twingate Starter account. With this account, you can then easily configure secure remote access to lots of devices and servers, including:
On these devices and servers, you can then unlock simple, secure, and free remote acess to a variety of apps and use cases, including
Please join us at our community forum to share and discuss your experience and projects.
Prerequisites
Twingate can be installed either as a Docker container or directly on the OS. If you prefer the first approach, please first install Docker.
Sign up for Twingate
Twingate Starter is a new free plan that is designed for home and personal use. If you don’t have an account already, please click here to sign up for a Starter account. Creating an account is simple and you can choose to sign up using a Google, Github, or other existing account you have.
Complete the short questionnaire and choose a Network Name and URL on Step 3. This URL (in this example, “jlhome‚) will be a unique identifier that you’ll use later to connect your clients.
Name your network
At this point, you should see a home screen like the one below.
Signup complete
Add a Remote Network
Click on the “Add a Remote Network‚ button, and you should see a popup. Twingate supports many different kinds of remote networks. If you are looking to connect to AWS, Azure, or GCP, then select the appropriate option in the dropdown menu. If you are connecting to your home network, choose “Other‚ for the Location. Regardless of which option you choose, give the network a name, like “Home Network‚, then click “Add Remote Network‚ to create it.
Add a Remote Network
Add a Connector
The Twingate Connector is a piece of software that allows for secure access to your remote network and the devices connected to it (e.g., your Raspberry Pi or Synology NAS). For it to work, you first need to deploy the Connector on your devices. Click on the remote network you just created and you should see a screen like the one below with two automatically generated Connectors (the names are random) that are not yet connected.
Add a Connector
Choose one of the two Connectors and click on the “Deploy Connector‚ button. You’ll see a Controller configuration page like the one below with several deployment options. The Connector can be deployed on a variety of devices and servers. Please follow the appropriate instructions below:
After deploying the Connector, return to the Twingate web portal and you should see that the Connector’s status has automatically turned green, indicating that the Connector was successfully deployed.
Connector is connected
Add a Resource
You’ve now set up a Connector on your Synology NAS. This Connector enables remote access for any device or service on your home network (called a “Resource‚ in Twingate). We’ve put together some guides for things that we’re tinkering on at home ourselves, but please join us in the community forum to share how things went and what other cool use cases you’ve discovered!
Sharing is Caring
Do you want to share access with a family member? You can easily do this from the Twingate web UI. Just go to the Team tab and click “Invite User‚ to send an email invitation. The recipient would simply follow the same steps to download the Twingate client, join your network, and get access to the devices and resources that you choose.
Invite other users
Solutions
Solutions
The VPN replacement your workforce will love.
Solutions